Homesteading—it’s a lifestyle that’s all about getting your hands dirty, coming up with creative solutions, and living a simpler, self-sustaining life. But let’s be honest, sometimes that “simpler” part gets lost when you find yourself knee-deep in chores, tangled in garden hoses, or trying to herd a stubborn goat back into its pen (again).
Luckily, there are a few homesteading hacks that will save you time, energy, and perhaps a little bit of your sanity. From clever ways to organize your tools to brilliant tricks for managing your animals, here are 15 life-changing homesteading hacks to make your farm work—and your life easier.
1. Use an Old Ladder as a Tool Organizer
That old wooden ladder you’ve been meaning to fix? Turn it into a tool rack! Just hang it horizontally wherever you want some rustic charm. The rungs can hold hoes, shovels, and even your gardening gloves. It’s a quirky yet functional solution to your tool clutter, and hey, it gives your barn a bit of farmhouse charm.
2. DIY Bug Repellent with Essential Oils
You love the great outdoors, but bugs…. Not so much? Instead of buying expensive chemical bug sprays, make your own using essential oils. A simple recipe: mix 10-20 drops of lavender, peppermint, or citronella oil with some water in a spray bottle, and boom—you’ve got a natural bug repellent that works wonders and smells much better than the store-bought stuff. Plus, your goats will appreciate the lavender scent.
3. Repurpose Empty Egg Cartons for Seed Starting
No need to spend a fortune on seed-starting trays. Those empty egg cartons you have piling up in the kitchen? They’re perfect for starting seeds! Simply fill each compartment with soil, drop in your seeds, and watch them grow. Plus, once the seedlings are ready, you can plant the whole carton in the ground—no need to remove them. The cardboard will biodegrade over time, making it an eco-friendly alternative.
4. Make a Homemade Chicken Feeder with PVC Pipe
Tired of constantly refilling your chicken’s feeder? A simple PVC pipe can solve your problem. Just grab a piece of PVC pipe, a few elbows, and T-joints from your local hardware store, and voilà! You’ve got an automatic feeder that prevents waste and gives your chickens access to food throughout the day. Bonus points if it’s elevated off the ground to keep things cleaner.
5. Use Milk Jugs to Protect New Plants
If you’ve ever had a young plant fall victim to the chilly early spring nights, you’ll love this hack: use empty milk jugs to protect your tender plants! Cut the bottom off a plastic milk jug, and place it over your new plant as a mini greenhouse. It’ll keep the frost off, and the sun will still get through the clear plastic. Plus, it’s free and recycling at its finest!
6. Label Your Seeds with Popsicle Sticks
In the whirlwind of spring planting, it’s easy to forget what you planted where. So, grab a pack of popsicle sticks, and use them as plant labels. Simply write the name of the plant with a permanent marker, and stick them in the soil. Not only is this an easy and affordable way to keep track of your garden, but it also makes you feel like an arts and crafts pro.
7. Repurpose Old T-Shirts as Shop or Garden Rags
Those old, holey t-shirts you’ve been hanging onto make excellent shop or garden rags. Cut them up and use them to wipe hands, clean tools, handle muddy pots, or protect your skin during quick garden jobs. They’re washable, reusable, and perfect for the homestead — even if they’re no longer wearable. It’s an easy way to reduce waste and get a little more use out of something you already have.
8. The One-Bucket Homestead Hack
Keep one sturdy bucket by the door and let it do multiple jobs. It can collect kitchen scraps for chickens or compost, haul garden tools, carry weeds, hold feed scoops, or catch random homestead messes that pop up throughout the day. It’s simple, flexible, and saves you from walking back and forth ten times. Sometimes the best homestead systems aren’t fancy — they’re just convenient.
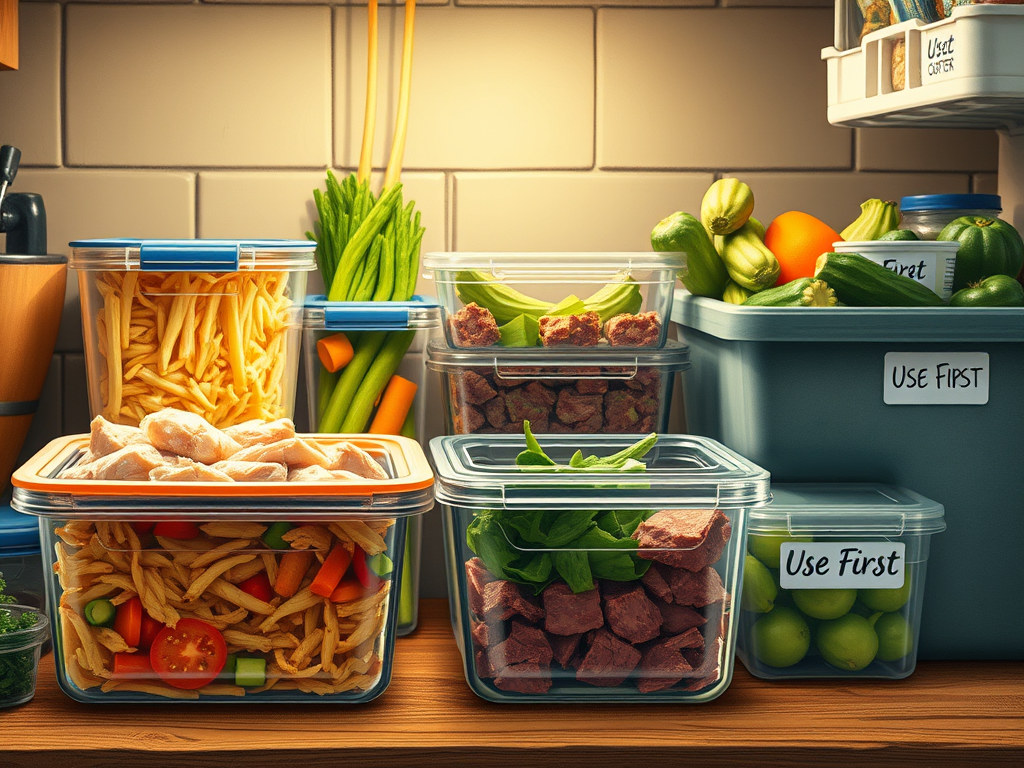
9. Reuse Containers for Simple Homestead Storage
You don’t need to buy special organizers for your homestead. Old containers you already have — coffee cans, jars, tins, yogurt tubs, plastic bins — can be repurposed for all kinds of storage. They work great for seeds, bolts and screws, garden labels, small tools, animal supplements, and odds and ends that tend to get lost. Label them, stack them, and keep them where you actually use them. It’s not fancy, but it’s practical, saves money, and keeps clutter from taking over. Homesteading isn’t about having matching storage — it’s about making what you have work.
10. Store Bedding Where You Actually Use It
Instead of hauling bedding back and forth every time the coop needs freshening, keep a small bin or bag stored right inside or near the coop. Being able to quickly toss in a fresh layer makes maintenance faster and keeps small messes from turning into big cleanups. Simple access beats perfect storage every time.
11. Keep Hoses Where They’re Needed
If you have multiple garden or animal areas, it’s often easier to keep one hose permanently assigned to each spot instead of moving one hose everywhere. Less dragging, less wear and tear, and way less frustration.
12. Collect Rainwater Where It Makes Sense
Rainwater can be a great supplemental water source for gardens, especially during dry stretches. If it’s legal where you live, collecting rainwater in a simple barrel or container can help reduce water use and stretch your resources. Even a small setup can be useful for watering plants, filling watering cans, or spot-watering beds. Just remember — rainwater systems don’t have to be fancy to be helpful, and they work best as part of a bigger plan, not a cure-all. Always check local regulations, and start small to see what actually works for your space and climate.
13. Use Scented Plants as a Gentle Pest Deterrent
Instead of relying on one product to fix pest problems, adding strongly scented plants around your garden and home can help deter some insects naturally. Mint and lavender are two popular options — just make sure to plant mint in containers, not directly in the ground, unless you want it taking over everything. These plants won’t eliminate pests entirely, but they can help reduce pressure when used alongside other good garden practices. Think of them as part of a layered approach, not a cure-all.
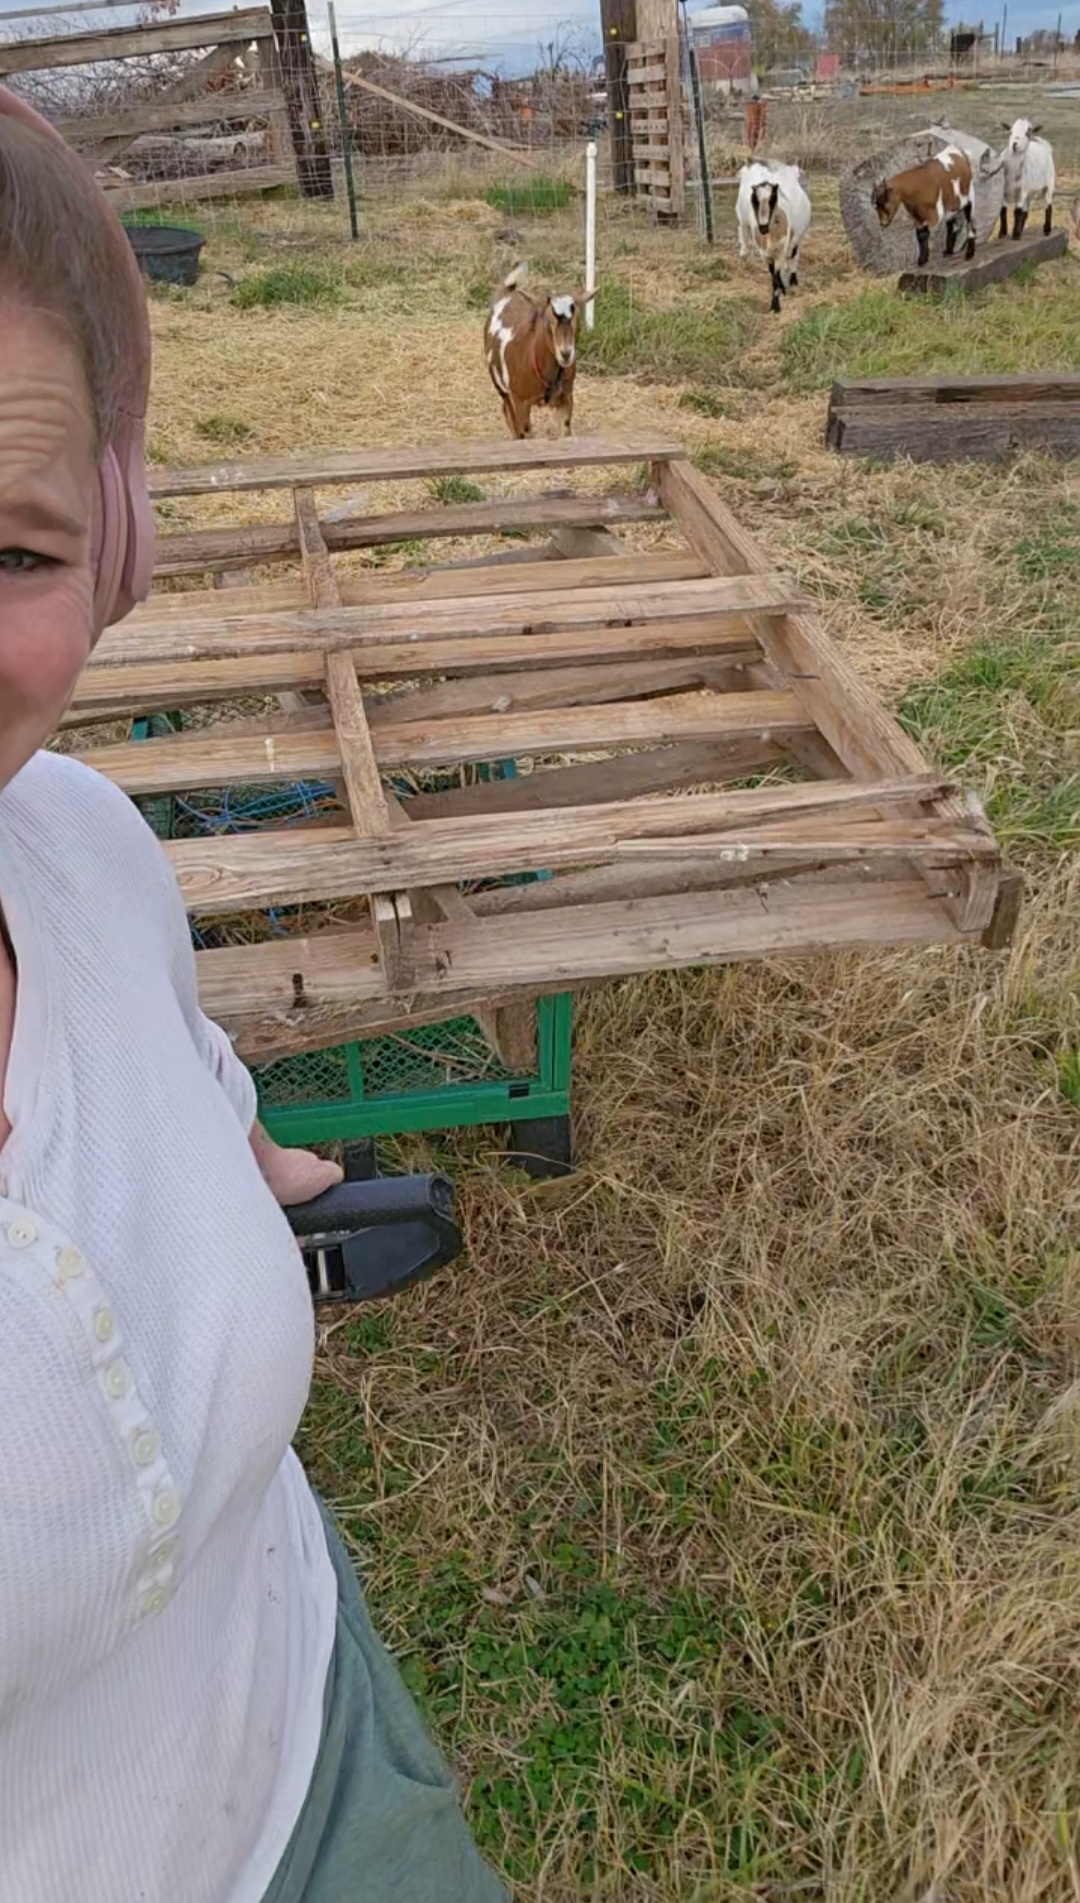
14. Use Free Pallets Instead of Buying New Materials
Old pallets are often free and easy to find, which makes them a practical shortcut for homestead projects. Instead of buying new lumber, pallets can be repurposed for quick fixes like garden borders, compost bin walls, temporary fencing, or simple storage solutions. They’re not meant to be permanent or perfect, but they allow you to solve problems fast and cheaply using what’s available. When you’re learning as you go, pallets give you flexibility without a big investment — which is exactly what a good homestead hack should do.
15. Air-Dry Herbs Using a Clothesline or Simple Hanging Space
Drying herbs doesn’t require special equipment or a dehydrator. A clothesline, drying rack, or even a simple string indoors works just fine. Tie herbs in small bundles and hang them in a dry, well-ventilated space out of direct sunlight. This low-effort method saves energy, preserves flavor, and lets you work with what you already have. It’s a simple, old-fashioned solution that still holds up — especially for small batches.
Final Thoughts: Homesteading Doesn’t Have to Be Hard—Just Clever
Homesteading doesn’t have to be complicated or expensive to be rewarding. Most of the time, the best “hacks” are simply finding easier ways to do the things you’re already doing — using what you have, building systems that make sense for your space, and letting go of the idea that everything needs to be perfect. Try one or two of these ideas, skip the ones that don’t fit your homestead, and adjust as you go. That’s how real homestead routines are built. And if you’re looking for more simple, practical tools to help you stay organized and confident, be sure to check out my Freebie Hub for free printables all about homesteading. I’ll link it below so you can grab what fits your life right now. 🙂