Category: Gardening

  • Small Gardening Habits That Make Your Garden Easier to Manage

    Small Gardening Habits That Make Your Garden Easier to Manage

    When people picture gardening, they often imagine long weekends outside.

    Hours spent planting.
    Entire afternoons pulling weeds.
    Big seasonal projects that take up half the day.

    And while those days absolutely happen sometimes, the truth is that most successful gardens aren’t built in one long weekend.

    They’re built in small habits.

    Tiny actions repeated over time.

    A few minutes here.
    A quick check there.
    A short routine that becomes part of your day.

    Those small habits add up faster than people think.


    Gardening Success Isn’t About Motivation

    One of the biggest misconceptions about gardening is that you need to feel motivated to do it.

    You don’t.

    What you need are systems and habits that make caring for your garden part of your normal routine.

    This is where something called habit stacking becomes incredibly useful.

    Habit stacking simply means attaching a new habit to something you already do every day.

    Instead of trying to create brand-new routines, you piggyback off existing ones.


    What Habit Stacking Looks Like in the Garden

    Think about the things you already do every morning.

    You wake up.
    You pour a cup of coffee.
    You step outside.
    You check the weather.

    These are perfect anchor points for small gardening habits.

    For example:

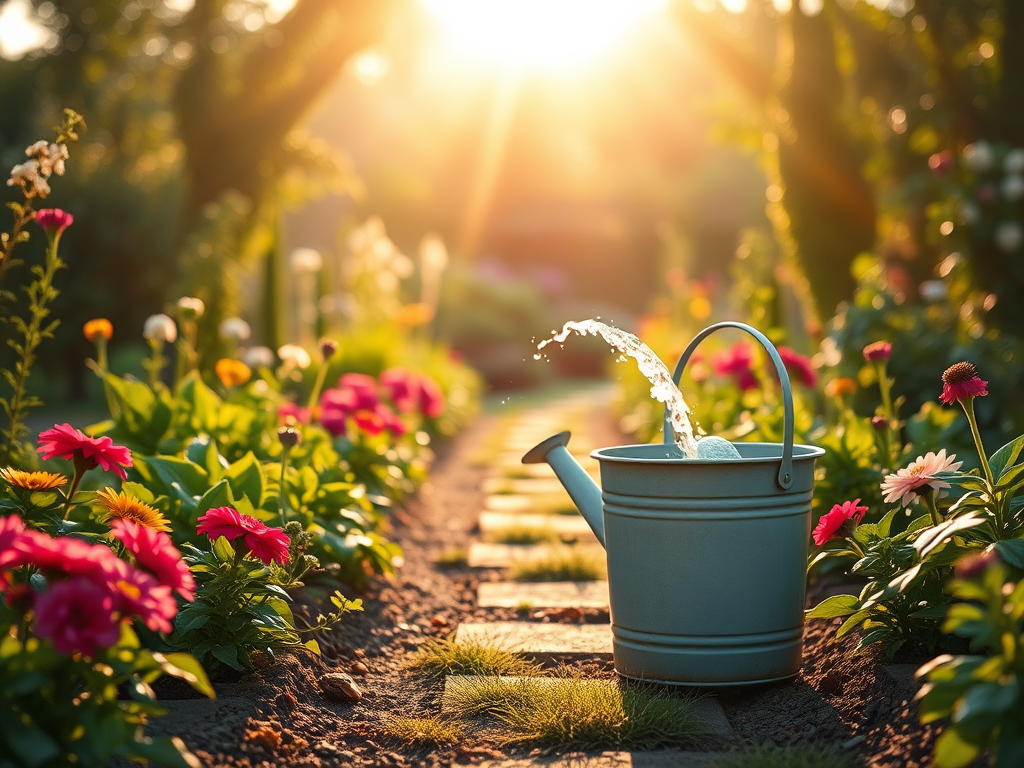
    When you pour your morning coffee, take five minutes to water your plants.

    When you step outside in the morning, walk past the garden and do a quick observation check.

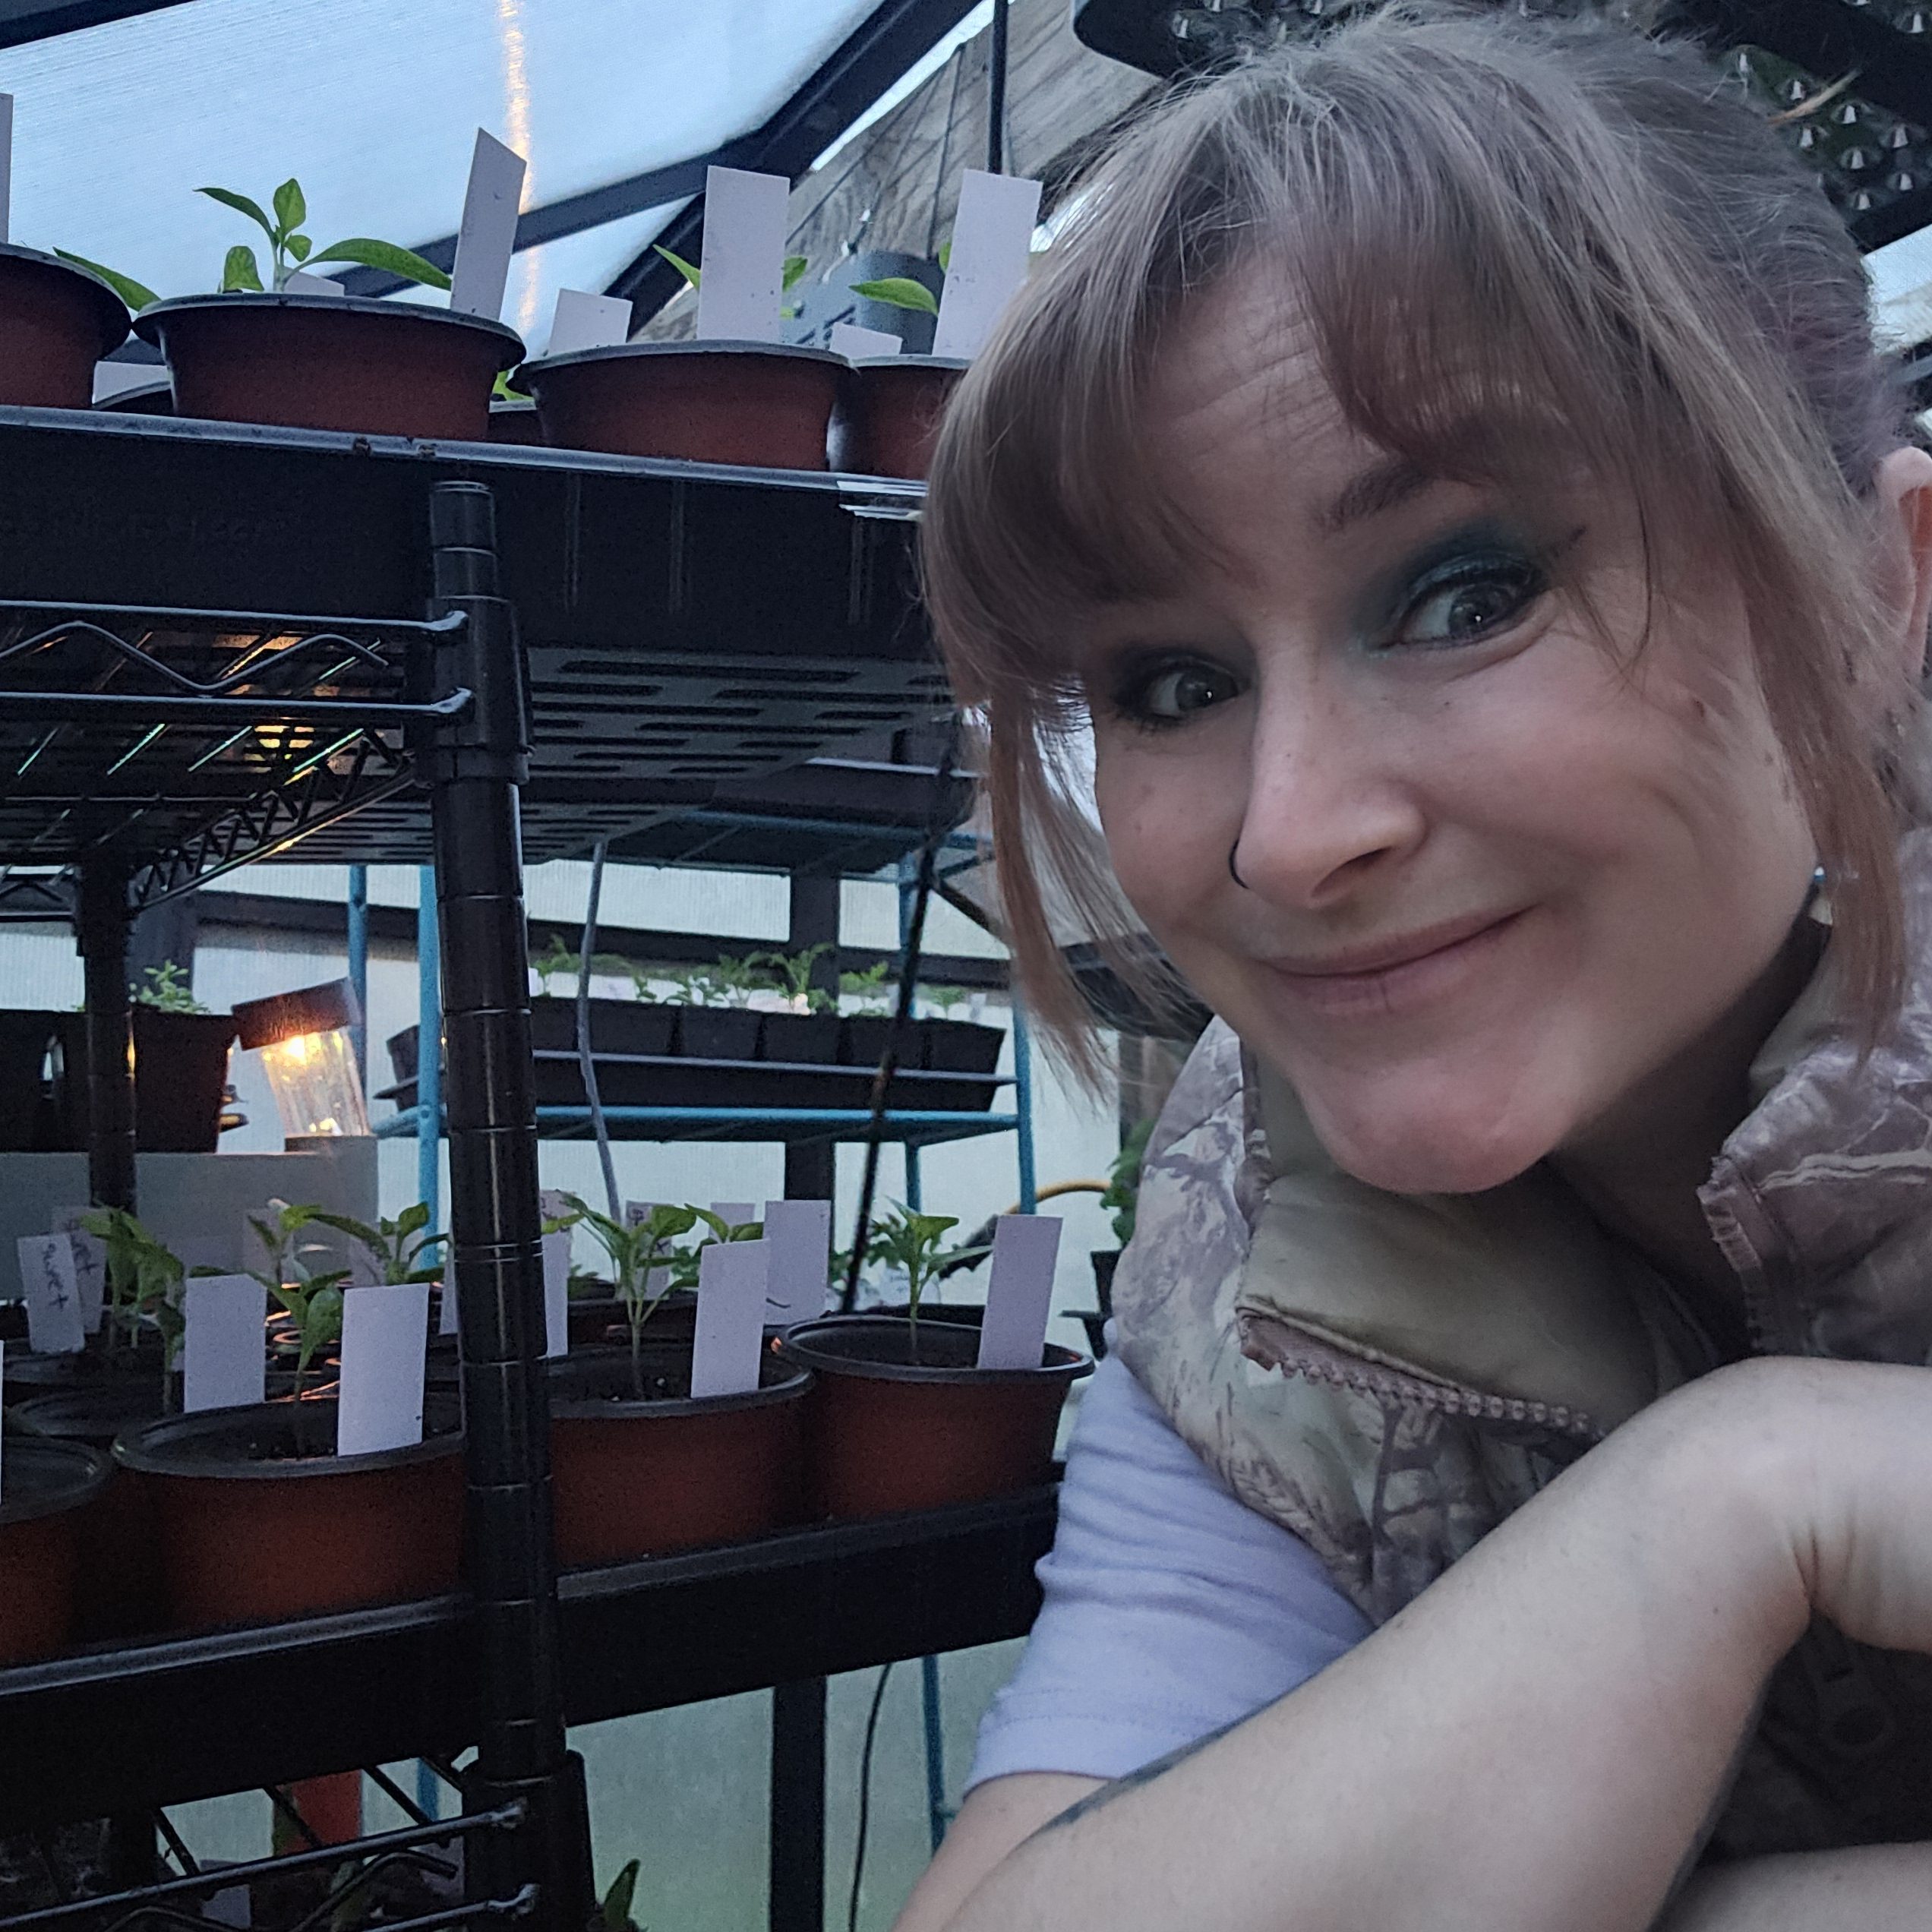
    If you have a greenhouse, make it part of your morning routine to open it and check moisture levels.

    You’re not adding a brand new task to your day.

    You’re simply attaching gardening to something that already exists.


    Start With Five Minutes

    A lot of people quit gardening because they feel overwhelmed before they even start.

    They imagine hours of work and giant gardens that require constant attention.

    But the reality is that a garden can be maintained in very small increments of time.

    Five minutes matters.

    Five minutes can be used to:
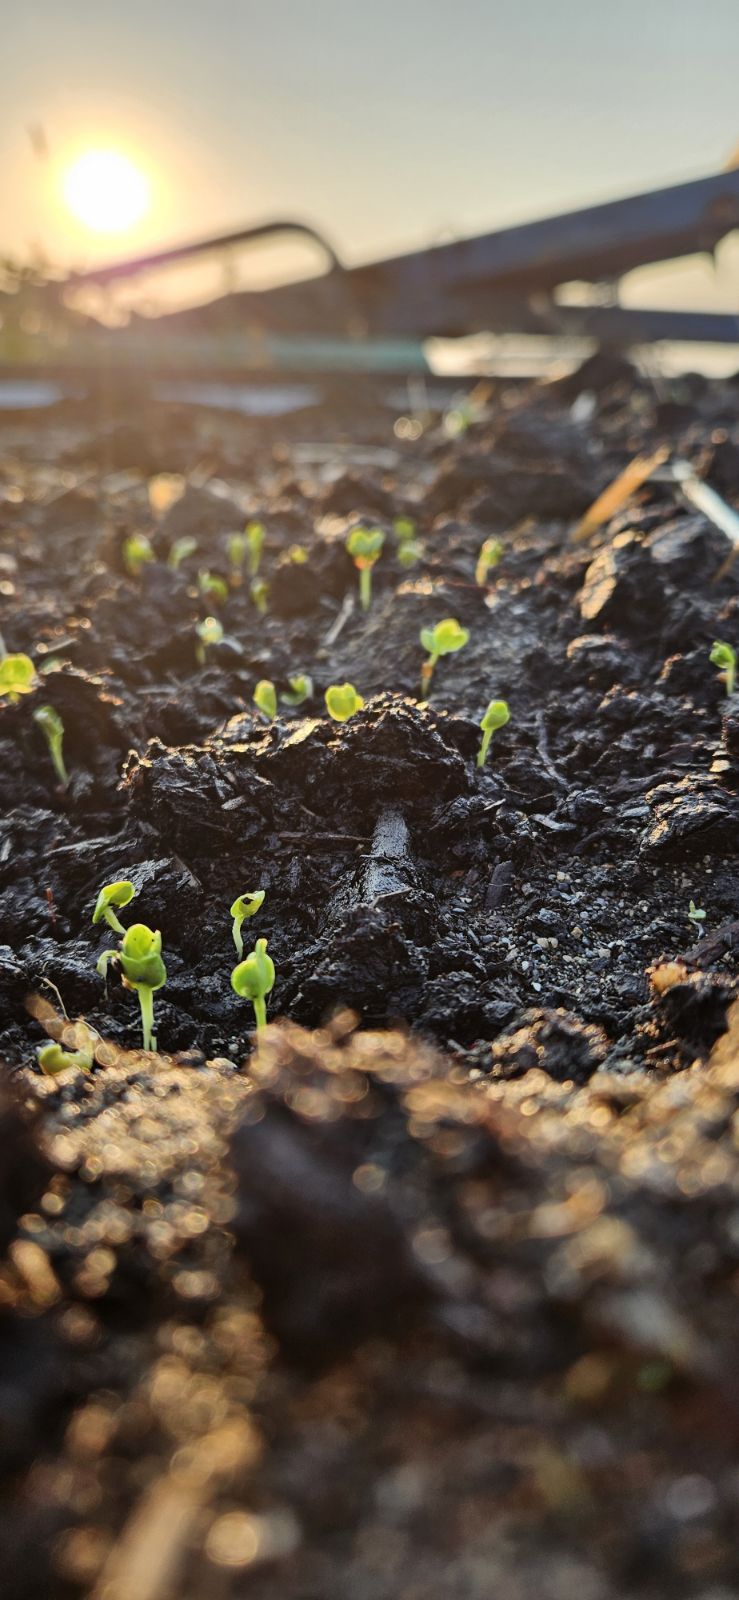
    • water seedlings
    • pull a few weeds
    • check for pests
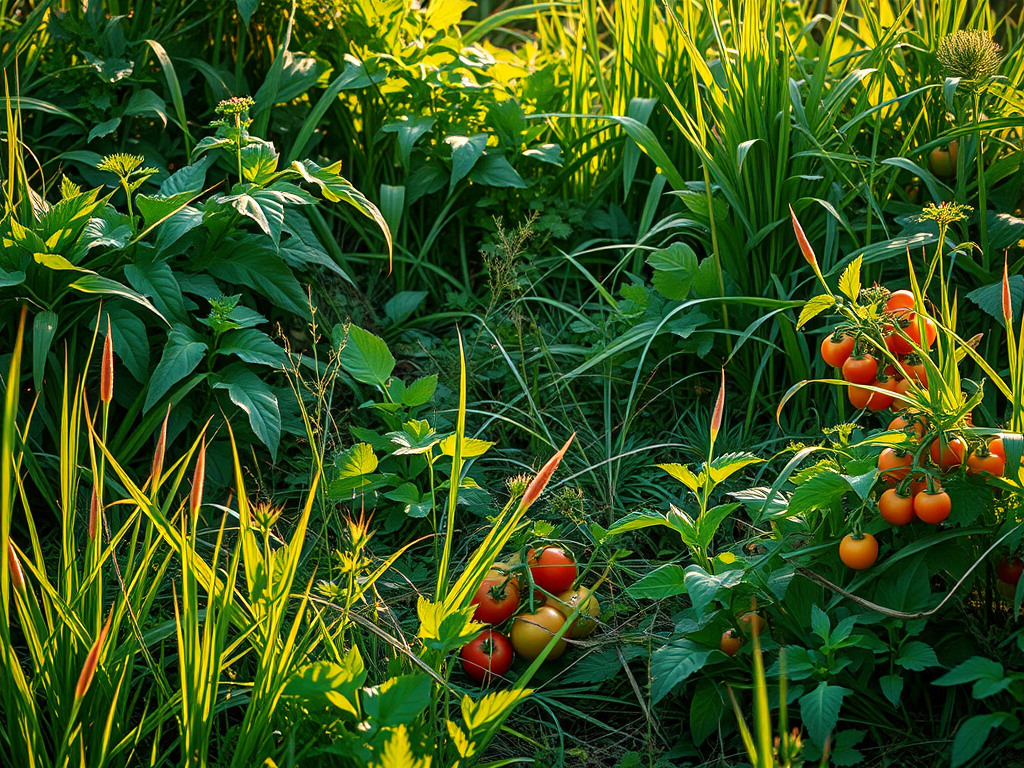
    • harvest a handful of vegetables
    • adjust plant supports
    • observe how plants are growing

    Those small actions prevent problems before they become big ones.

    And over time, five minutes often turns into ten.

    Then fifteen.

    Not because you forced it — but because you start enjoying the routine.


    Build Systems That Support Your Habits

    Habits are easier to keep when your environment supports them.

    This means organizing your garden and tools so tasks feel simple and accessible.

    For example:

    Keep a small watering can near your seed trays.

    Store hand tools where you can grab them quickly.

    Place garden beds somewhere you naturally walk past each day.

    The easier something is to start, the more likely you are to actually do it.

    If watering your plants requires finding tools, dragging hoses, or walking across the property, you’re less likely to do it consistently.

    But if everything is within reach, the habit sticks.


    Examples of Small Gardening Habits

    Here are a few ways YOU can build small routines to integrate gardening into your life.

    Morning routine:

    Wake up ten minutes earlier.
    Pour your coffee.
    Step outside and check your plants.

    Midday routine:

    If you work from home or take lunch breaks at home, spend five minutes in the garden doing a quick walk-through.

    Evening routine:

    Before heading inside for the night, harvest anything that’s ready and pull a couple weeds.

    These moments don’t feel like chores.

    They feel like check-ins.


    Observation Is One of the Most Powerful Habits

    One of the most valuable gardening habits you can develop is simply paying attention.

    Observation helps you catch small problems early.

    You’ll notice:

    • pests before they spread
    • plants needing water
    • early signs of disease
    • vegetables ready to harvest

    When you interact with your garden daily, even briefly, your awareness increases.

    And awareness prevents overwhelm.


    Gardening Grows With You

    The beautiful thing about small habits is that they grow naturally over time.

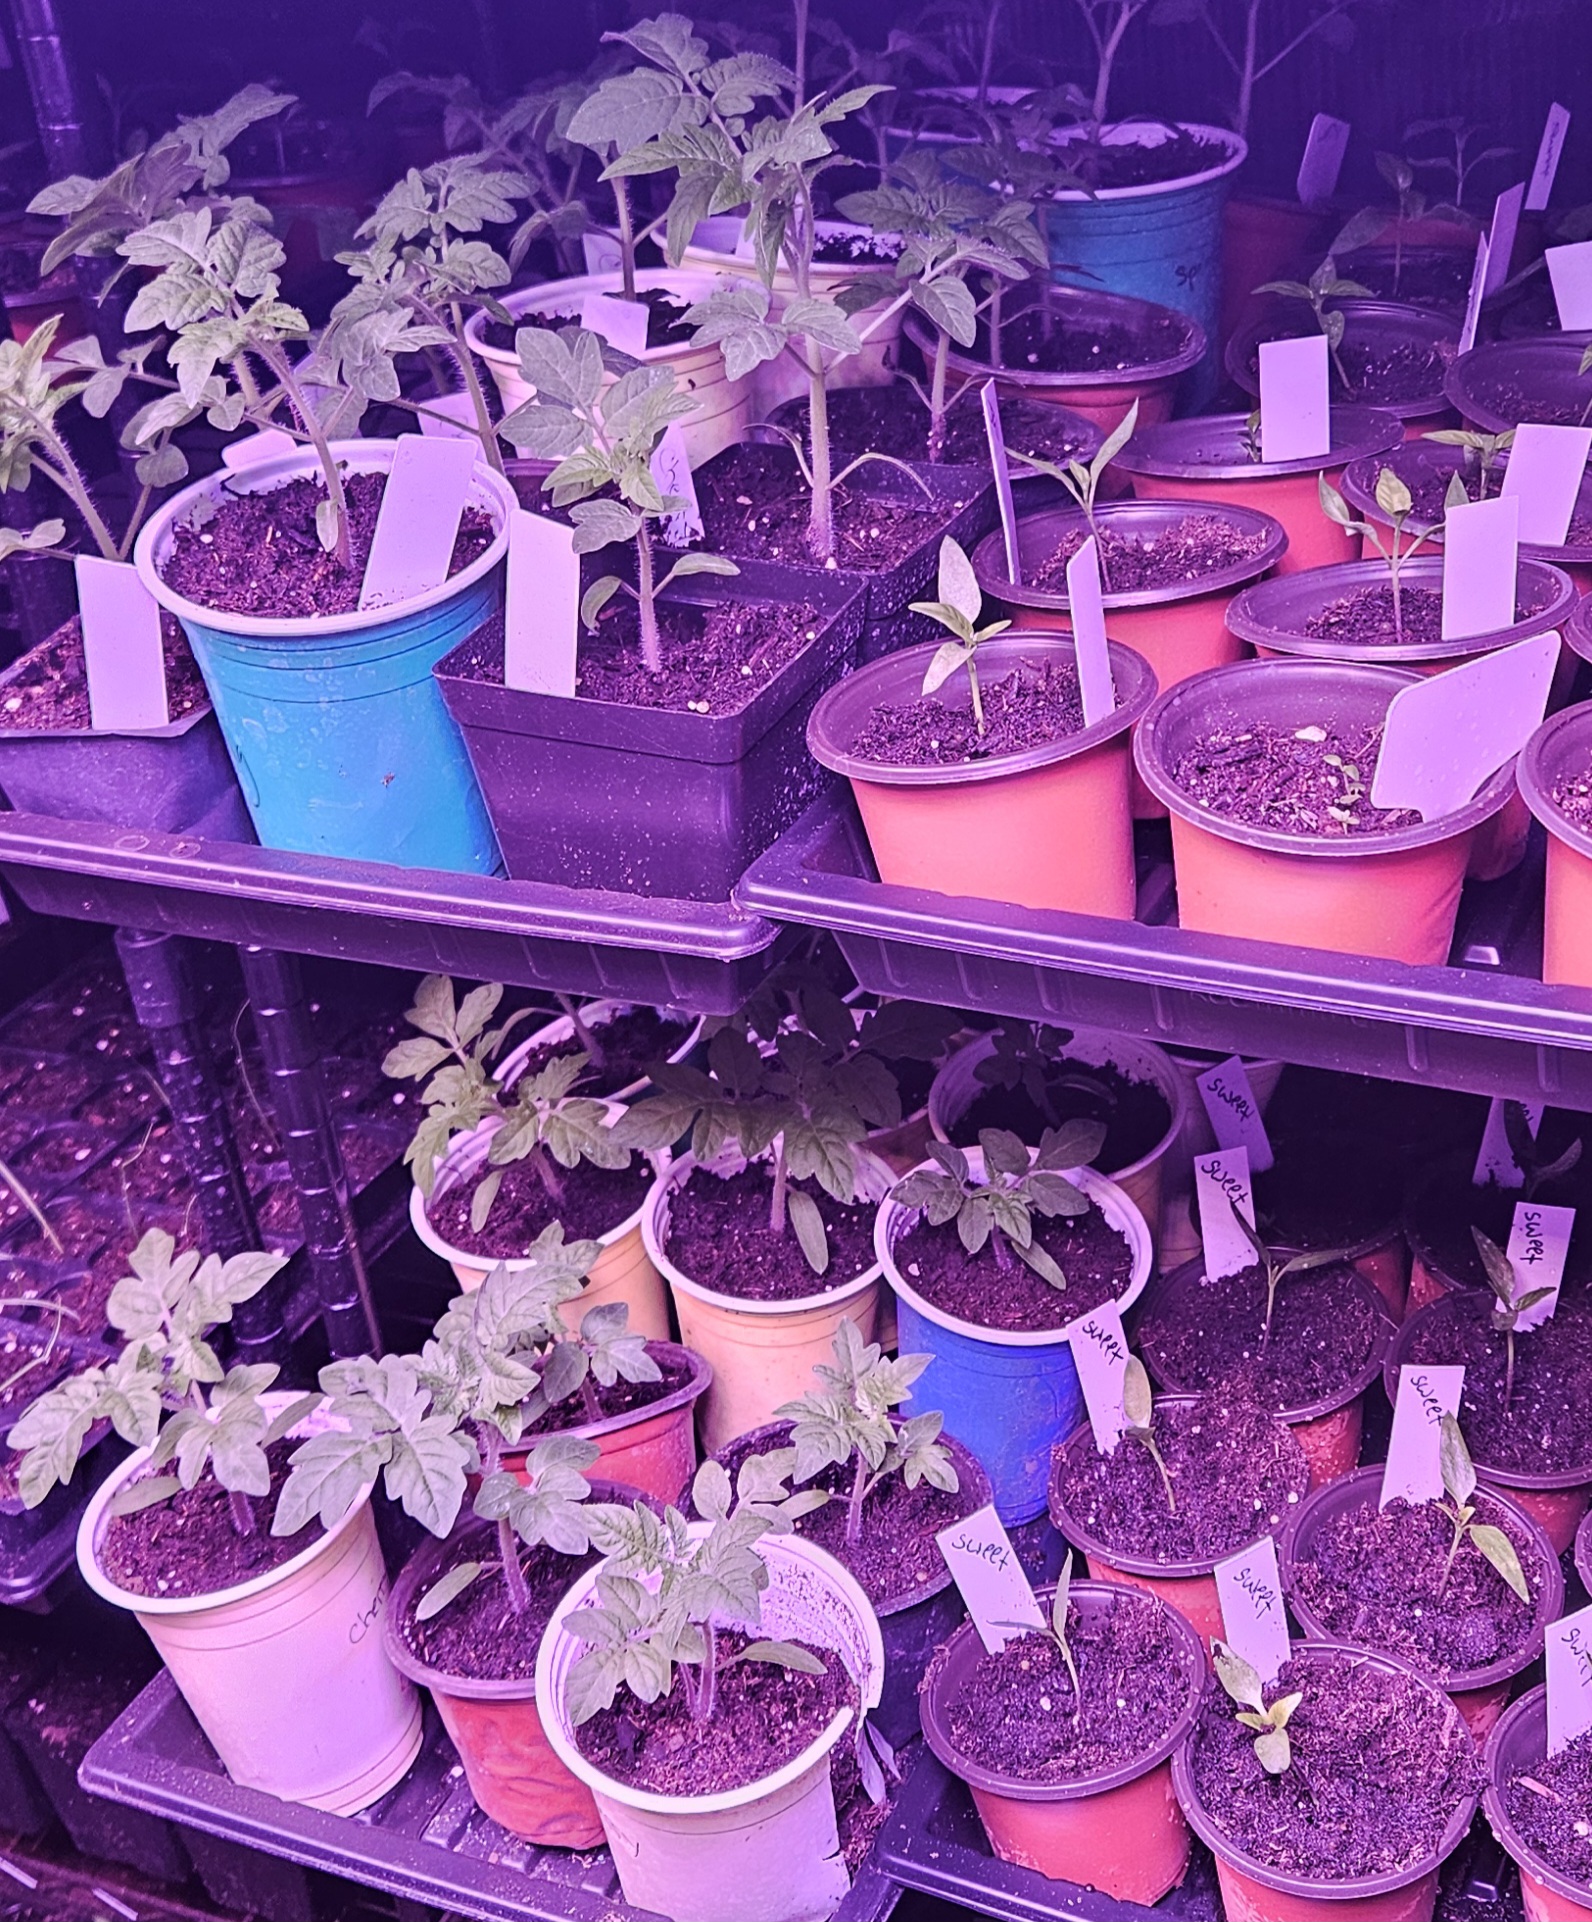
    You might start with one tray of seedlings.

    Then a couple containers.

    Then a small raised bed.

    Not because you rushed into it — but because your confidence grew alongside your habits.

    And that’s how sustainable gardens are built.

    Not in bursts of motivation.

    But in steady routines.


    Start Small and Let It Grow

    If you want your garden to succeed long term, start smaller than you think you need to.

    Build simple habits.

    Create systems that support those habits.

    And give yourself permission to grow slowly.

    Five minutes today might not seem like much.

    But over an entire season, those five minutes add up to something powerful.

    A garden that fits your life.

    A routine that feels natural.

    And food that grows because you showed up consistently.

    Small habits.
    Steady progress.
    Real food on your table.

    Need More Help Getting Started?

    If you’re starting this season and want something simple to guide you, I created a free printable to help.

    Seed Starting Made Simple is an 11-page beginner-friendly guide that helps you find your frost date, plan your seed timeline, avoid common mistakes, and track your plants as they grow.

    You can download it here:
    👉 https://homesteadingwithbeckyj.com/freebie-hub

    And if you’d like a deeper look at building a garden that actually fits your life, my ebook Garden Smarter, Not Harder (Book 2 in The Grounded Homesteader Series) is available now.

    It focuses on simple systems, growing what makes sense for your household, and creating a garden that’s sustainable — not overwhelming.

    Grab it here:
    👉 https://homesteadingwithbeckyj.blog/product/the-grounded-homestead-series-book-2-garden-smarter-not-harder/

    Small steps. Steady growth. Real food.

  • Grow What You Actually Eat

    Grow What You Actually Eat

    There’s a lot of noise in the gardening world.

    Grow this heirloom.
    Try this exotic plant.
    You need 17 varieties of squash.
    Look at these purple striped tomatoes.

    And listen — experimenting is fun. Trying new things is part of learning.

    But this post isn’t for the experimenters.

    This is for the person who grows their little heart out… harvests armloads of produce… and then stands in the kitchen thinking:

    “What am I supposed to do with all of this?”

    If you’re short on space, short on time, or just getting started — you don’t need to grow what everyone else is growing.

    You need to grow what your family actually eats.


    You Don’t Owe Anyone an Explanation

    There’s this quiet pressure in gardening culture to grow certain things.

    Like if you don’t grow zucchini, are you even gardening?

    If you don’t have rows of squash, pumpkins, kale, cabbage, cucumbers, herbs, and specialty tomatoes… are you doing it wrong?

    No.

    You don’t owe anyone an explanation for what you choose to grow.

    If your family doesn’t eat squash, don’t plant four squash plants.

    If no one in your house likes eggplant, skip it.

    If your kids won’t touch kale, don’t dedicate precious space to it.

    Your garden should serve your household — not Instagram, Pinterest, or whatever social media platform you are comparing yourself to.


    Start With What You Already Buy

    If you want a simple starting point, walk into your kitchen.

    Open your fridge.
    Open your pantry.

    What do you buy over and over again?

    That’s your list.

    If you go through:

    • salsa weekly
    • pasta sauce monthly
    • peppers constantly
    • lettuce every week
    • potatoes every few days

    Start there.

    Growing staples you already use does three powerful things:

    1. It saves you money.
    2. It reduces waste.
    3. It increases your confidence.

    There’s nothing more motivating than walking into your pantry and pulling out food you grew — and knowing it will actually get eaten.


    Space Is Valuable — Use It Intentionally

    When space is limited, every square foot matters.

    Every container.
    Every raised bed.
    Every row.

    If you only have room for six plants, make them count.

    Ask yourself:

    Will this realistically get eaten in my house?

    If the answer is no — it might not be the right crop right now.

    You can always experiment later when you have more time, more space, or more experience.

    But in the beginning?

    Grow food with purpose.


    This Isn’t About Playing It Safe

    Let’s be clear — this isn’t about never trying anything new.

    It’s about being intentional.

    If you love experimenting, go for it.

    But if you’re the type who will:

    • plant everything
    • harvest everything
    • then feel overwhelmed and discouraged

    Start smaller.

    Start practical.

    Let your wins build momentum.


    What If You Grow Too Much?

    It happens. Especially with tomatoes.

    And here’s the beautiful thing about gardening:

    Extra harvest is never wasted.

    You can:

    • Feed it to chickens or livestock
    • Share with friends and neighbors
    • Donate to a local food bank
    • Preserve it for later

    Confidence Comes From Repetition

    When you grow the same crops year after year:

    You learn them.
    You understand their timing.
    You recognize their pests.
    You improve your yields.

    Patterns emerge.

    And gardening starts to feel easier.

    Not because it is perfect — but because it is familiar.


    Grow For Your Life — Not Someone Else’s

    If you love salsa, grow tomatoes and peppers.

    If you eat salads daily, grow lettuce, spinach or kale.

    If your family runs on potatoes, grow potatoes.

    And….if you don’t eat something?

    You don’t need to justify why it’s not in your garden.

    Your garden isn’t a performance.

    It’s a tool.

    Start with what you eat.
    Build confidence.
    Expand when you’re ready.

    That’s how sustainable gardens are built.

    Small steps.
    Intentional crops.
    Real food on your table.

  • The Easiest Vegetables to Grow for Beginner Homesteaders

    The Easiest Vegetables to Grow for Beginner Homesteaders

    One of the biggest mistakes new gardeners make is assuming that if a vegetable grows well for someone else, it will grow well for them too. Social media makes it easy to believe that success looks the same everywhere — but gardening is deeply personal to your location, climate, AND timing.

    Before we even talk about what’s “easy” to grow, we need to talk about zones.

    Gardening Zones & Why They Matter

    Your growing zone helps determine what plants can survive your seasons, but it doesn’t tell the full story. Two gardeners in the same zone can have completely different results depending on heat, humidity, wind, soil type, and how quickly temperatures change.

    Don’t know what zone you’re in? Check out the link below.

    https://planthardiness.ars.usda.gov/

    So if your favorite garden influencer is growing beautiful broccoli and you can’t keep it alive to save your life — it doesn’t mean you’re bad at gardening. It usually just means that plant isn’t well suited to your climate or growing season.

    The key to beginner success is choosing crops that are forgiving, adaptable, and productive, even when conditions aren’t perfect.


    Root Crops: The Best Place to Start

    If you’re brand new to gardening, root crops are some of the easiest and most reliable vegetables to grow.

    Think:

    • Carrots
    • Radishes
    • Beets
    • Turnips
    • Potatoes

    These crops grow underground, which protects them from a lot of environmental stress. They don’t require constant pruning, trellising, or special care. As long as your soil isn’t rock-hard and you keep them watered, they mostly take care of themselves.

    Radishes are especially great for beginners because they grow fast, helping you build confidence early in the season.


    Leafy Greens: Easy, Fast, and Productive

    Leafy greens are another beginner favorite — with one important tip: they prefer cooler weather.

    Great beginner greens include:

    • Lettuce
    • Spinach
    • Kale
    • Arugula

    These crops grow quickly and can often be harvested multiple times. They do best in spring and fall, and many varieties will tolerate light frosts.

    If you live somewhere that warms up quickly, look for heat-tolerant varieties, but keep expectations realistic. Even heat-tolerant greens can bolt (go to seed) once summer heat sets in. That’s not failure — it’s just how these plants respond to temperature changes.

    Planting greens early, providing shade, and harvesting often will help extend the season.


    Tomatoes: Easier Than People Think (With a Few Rules)

    Tomatoes get labeled as “hard,” but in my opinion, they’re actually pretty easy once you understand a few basics.

    Here’s what matters most:

    • Plant them deep. Tomatoes grow roots along buried stems, which leads to stronger plants.
    • Use compost or add nutrients. Tomatoes are heavy feeders and need ongoing nutrition as they grow.
    • Give them support early. Cages, stakes, or trellises prevent breakage and disease.
    • Water consistently. Irregular watering causes more problems than almost anything else.

    If you get these basics right, tomatoes are incredibly productive and forgiving. Cherry and paste varieties tend to be especially beginner-friendly.


    Herbs: Low Effort, High Reward

    Herbs are one of the most overlooked beginner crops — and one of the most rewarding.

    Easy herbs include:

    • Basil
    • Parsley
    • Cilantro
    • Thyme
    • Oregano
    • Chives

    Many herbs tolerate poor soil, don’t require much space, and can be grown in beds, containers, or even tucked into other garden areas. Perennial herbs like thyme and oregano come back year after year, making them especially low maintenance.

    Plus, harvesting herbs regularly encourages more growth — which is exactly what beginners want.


    What to Know Before You Plant (And Why That’s Okay)

    Even though the vegetables on this list are considered “easy” for beginners, they all come with their own little stipulations. Gardening isn’t about mastering everything at once — there are a lot of small details to learn, and the best way to learn them is one step at a time. You can read five books and watch endless videos, but until you actually get your hands in the soil, not everything will stick. Each of these plants thrives under slightly different conditions, and it’s worth taking a little time to research. Yes, you can go to the store, buy some seeds, toss them in the ground, and see what happens — and honestly, sometimes that works. Just don’t expect a perfect or high success rate right out of the gate. Gardening is a process, and every season teaches you something new.


    The Real Secret to Beginner Gardening Success

    When you start thinking about gardening, reaching for beginner-friendly crops is one of the easiest ways to increase your chances of success. Keep your growing zone and local climate in mind, and take the time to do a little research on what grows well in your area. Try not to get caught up in someone else’s garden highlight reel — what works for them may not work for you. Gardening is a learning process, and every season teaches you something new. Enjoy the process, learn along the way, and happy gardening.

  • What to Do when your garden looks like a jungle(without giving up and moving to the city)

    What to Do when your garden looks like a jungle(without giving up and moving to the city)

    Let’s face it—gardening isn’t always as picturesque as the Instagram-perfect photos you see online. Sometimes, despite your best intentions, your garden transforms into something that resembles a jungle. Vines are sprawling, weeds are taking over, and you can’t tell the difference between your carrots and the dandelions at this point. And let’s not even talk about the path you used to walk on—it’s practically a secret tunnel now.

    If this sounds familiar, don’t panic. You’re not alone in this. Most gardeners have experienced the chaos of a garden gone rogue. But instead of pulling up stakes and heading straight to the city, let’s talk about what you can do to tame your unruly garden and turn it back into the thriving space you’ve always wanted.

    Grab your gardening gloves, a strong cup of coffee, and let’s dive into the chaos—because the jungle can be tamed!

    Step 1: Take a Deep Breath (And a Step Back)

    Before you grab your machete and start hacking away, take a moment to breathe. Your garden may look wild, but it’s not beyond saving. The first step is to approach the situation with a calm mindset. Yes, your cucumber vines may have overrun the beans, but that’s fixable.

    Think of this as your garden’s “teenage phase.” Every garden goes through a rebellious stage, and it’s up to you to guide it back on track. The key is to not get overwhelmed by the mess. Take it one step at a time, and remember: the jungle is a place of possibility—just like your garden.

    Step 2: Assess the Situation (And Have a Laugh)

    Take a walk around your garden, and give yourself a moment to laugh at the chaos. Sure, your peas may be dangling from the tomato cages, and the pumpkins are now attempting to conquer the entire backyard, but that’s okay!

    While you’re surveying the scene, make a mental (or written) note of what’s working and what needs immediate attention. Is the garden completely overrun with weeds? Are there areas where plants have died off and need to be pulled? Or are there sections that are just a little too “enthusiastic” in their growth?

    The important thing here is to stay positive. A garden jungle means there’s life—perhaps a little too much of it—but there’s growth. And growth means you’re doing something right!

    Step 3: Start with the Weeds (They’re Not the Cool Kids)

    Weeds are the ultimate party crashers. They show up uninvited and spread like wildfire. And if you don’t take care of them first, they’ll take over your garden like an invasive species. But don’t worry—weed removal doesn’t have to be a back-breaking task. It’s all about strategy.

    Here’s what you can do:

    • Pull Weeds by Hand: Start by pulling out weeds by hand, focusing on the areas with the most visible weeds. For stubborn weeds, grab a garden fork to loosen the soil and remove them root and all.
    • Mulch, Mulch, Mulch: Once you’ve removed the weeds, lay down a thick layer of mulch around your plants. This will help smother new weed growth while also keeping the soil moist. It’s like a cozy blanket for your garden.
    • Use a Weed Barrier: For larger areas that are completely overtaken, consider using a landscape fabric or a biodegradable weed barrier to prevent the weeds from coming back in full force.

    Step 4: Take Control of the Overgrown Plants (Don’t Be Afraid to Prune)

    Now, it’s time to tame the jungle—carefully, of course. Overgrown plants are like unruly children who need some boundaries. While you don’t want to be too harsh (after all, they’ve worked hard to grow), it’s important to prune and trim where necessary.

    Here’s how to do it:

    • Prune Back Vines: If your vines are spreading like wildfire, carefully trim them back to keep them within their designated areas. For example, trim your tomato vines back to prevent them from taking over your entire garden bed. If you’ve got pumpkins running wild, redirect them into a more manageable space or prune off some of the extra growth.
    • Cut Back Overgrown Perennials: For perennials that have become leggy or too big, trim them back to encourage new growth and prevent them from crowding other plants. If your herbs have started to resemble small shrubs, cut them back to allow space for other plants to breathe.
    • Remove Dead or Damaged Plants: Sometimes, the jungle gets a little too crazy and you’ll find plants that have outgrown their spot or have died off completely. Pull them out to make room for the healthy ones that still have plenty of growing to do.

    Step 5: Create Clear Paths (So You Can Actually See Your Garden)

    A garden jungle is beautiful in its own way, but it’s hard to appreciate the beauty when you can’t even walk through it. Creating clear paths through your garden will make it more functional and easier to maintain.

    Here’s how to carve out your garden’s “roads” and make the jungle more navigable:

    • Lay Down Gravel or Wood Chips: If you’ve got garden beds that are difficult to walk around due to overgrowth, consider laying down a path of gravel, wood chips, or even bark mulch. These materials will help define your paths while making it easier to walk around.
    • Use Edging to Define Garden Beds: If your plants are spilling out of their designated areas, use stone, brick, or even plastic edging to create clear boundaries for your garden beds. This will prevent plants from spreading too far and keep the rest of your garden organized.
    • Add Trellises or Cages for Climbing Plants: If your vines and climbing plants are taking over everything, install trellises or plant cages to keep them contained and give them a proper structure to grow on. Not only will this help control the spread, but it’ll also give your plants the support they need to grow upward instead of outward.

    Step 6: Reevaluate What You Want to Grow (Be the Boss of Your Garden)

    A jungle is all about wild, unchecked growth—but that’s not always what you want for your homestead. This might be the perfect time to reevaluate what you want to grow in your garden. Are there plants that aren’t giving you the results you were hoping for? Are there some you can’t manage, or that are taking up space without rewarding you with a bountiful harvest?

    Here’s what you can do:

    • Remove Low-Value Crops: If you’ve got crops that have taken over but haven’t produced as much as you hoped, it might be time to let them go. For example, if your zucchini plants are sprawling everywhere but the fruit has been disappointing, it may be time to cut them back or replant something else in their place.
    • Plan for Better Spacing Next Season: Once your jungle has been tamed, make a mental note for next year’s planting. Will your tomatoes be better off in a raised bed? Will your squash thrive with a little more space? Take advantage of this season’s chaos as a learning experience for better planning in the future.

    Step 7: Embrace the Chaos (And Learn to Love It)

    Finally, sometimes you have to accept that your garden will never be perfectly manicured, and that’s okay. Nature doesn’t have a straight line, and neither should your garden. Embrace the chaos! Some wild growth is not only healthy but beneficial. Wildflowers, pollinators, and even a few “weeds” can help support your garden’s ecosystem.

    The jungle may look overwhelming, but it’s a sign that your plants are thriving. And while it’s essential to get things back under control, you can still leave room for nature to do its thing. Your garden doesn’t have to be a perfect picture—it can be a joyful, thriving, messy, beautiful work in progress. And that’s the real beauty of homesteading.

    Conclusion: From Jungle to Joyful Garden

    So, what do you do when your garden looks like a jungle? You get to work, but you don’t give up. You tackle the weeds, prune the plants, and create paths for easy navigation. You learn from the chaos, and you embrace the wild beauty that nature brings to your homestead.

    Most importantly, don’t get discouraged. Every garden has its ups and downs, and a bit of mess is part of the process. Whether it’s your first garden or your fifth, a little jungle is a sign of life—and life is always worth the effort.

  • 10 gardening Mistakes Evn the Pros make(and how to avoid them)

    10 gardening Mistakes Evn the Pros make(and how to avoid them)

    Gardening—it’s supposed to be peaceful, rewarding, and the perfect way to spend a sunny afternoon. But sometimes, despite our best efforts, the garden gods throw us a curve ball. Whether you’re just starting out or you’ve been growing tomatoes longer than you can remember, there’s one thing all gardeners have in common: we mess up.

    Yes, even seasoned pros who know the difference between a compost heap and a spaghetti squash have made mistakes. But don’t worry—every mistake is a learning opportunity (and a great blog post). Let’s dive into some of the most common gardening blunders, including ones that even the experts sometimes make, and—more importantly—how you can avoid them.

    1. Overwatering (Because You Love Your Plants Too Much)

    The Mistake:

    We’ve all been there: you see your plants looking a little droopy, and your instinct is to flood them with water. Problem solved, right? Not quite. Overwatering is one of the most common mistakes gardeners make, and even experienced green thumbs can sometimes drown their plants in love.

    The Fix:

    Make sure your soil is actually dry before reaching for the watering can. Use your finger (or a soil moisture meter) to check the soil depth. Water deeply but less frequently to encourage plants to grow strong, deep roots. And remember—plants like their feet dry, but their heads in the sun, not the swamp.

    2. Planting Too Early (Or Too Late)

    The Mistake:

    You’re eager to get started, so you rush into planting as soon as you see a warm day. Or maybe you procrastinate and plant late, hoping the season will magically stretch out. Either way, you’re probably setting yourself up for failure.

    The Fix:

    Know your frost dates! Do a little research on when it’s safe to plant in your area—both the average last frost in spring and the first frost in fall. For example, if you’re in zone 5, there’s no reason to plant tomatoes in March (trust me, the frost will win that battle). If you’re unsure, start seeds indoors and transplant when it’s safer.

    3. Not Rotating Crops (Yes, Plants Get Tired Too)

    The Mistake:

    You’ve got your favorite vegetable patch, and every year, you plant the same thing in the same spot. It’s easy, right? You know exactly where to put the tomatoes, and you’re on autopilot. But plants, like people, get cranky when you don’t give them a break.

    The Fix:

    Crop rotation is key to healthy soil and preventing disease. Try to change up what you plant in each bed every year. For example, if you planted tomatoes in one spot last year, plant beans or leafy greens there this year. It also helps prevent soil depletion by ensuring your plants don’t hog the same nutrients year after year.

    4. Planting Without Considering Sunlight (Sorry, Tomatoes, You’re Not a Shade Plant)

    The Mistake:

    You’ve got a cozy corner in your garden that seems perfect for a new plant, but you forgot one small thing: sunlight. Sure, that corner looks charming, but if it only gets two hours of sunlight a day, your leafy greens won’t be the thriving wonderland you imagined.

    The Fix:

    Check how much sunlight your plants need before you plant them. Most vegetables need at least 6 hours of direct sunlight. Pay attention to your garden’s sun patterns and try to position sun-loving plants like tomatoes and peppers in the sunniest spots, while placing shade-tolerant herbs like mint or lettuce in less sunny areas.

    5. Not Using Proper Soil (Even Plants Have Standards)

    The Mistake:

    You think all soil is the same—it’s dirt, right? Well, turns out, plants are picky. They want their soil to be nutrient-rich, well-draining, and balanced. If you plant in soil that’s too compact or lacks the right nutrients, your plants will probably not be very happy.

    The Fix:

    Know your soil! Test it if you have to (kits are super affordable and easy to use). If it’s too clay-heavy, you can amend it with compost or organic matter to improve drainage. For sandy soil, add in some compost or peat moss for better retention. And don’t forget the power of mulching to keep that soil just the way your plants like it.

    6. Ignoring Pests (They’re Watching You… And Your Lettuce)

    The Mistake:

    It starts small—a few chewed leaves here and there—but you ignore it. Soon, the damage spreads, and your garden is a buffet for every pest in the neighborhood. Even the pros sometimes get complacent, thinking they can just “wait it out,” only to find themselves in a full-blown pest war.

    The Fix:

    Stay vigilant! Inspect your plants regularly and act fast if you spot any pests. Use natural repellents like neem oil, garlic spray, or insecticidal soap. You can also attract beneficial insects like ladybugs to keep pests in check. If things really go south, a quick, eco-friendly pesticide might be needed, but always read the label to ensure it’s safe for your plants.

    Here is a little video I made a while back about some natural pest control options you can implement before buying at the store.

    7. Not Pruning (Your Plants Aren’t Hairless Wonders)

    The Mistake:

    You’ve got a beautiful bush of tomatoes, but you’re hesitant to prune it because, hey, the more branches, the merrier, right? Wrong. Not pruning can lead to overcrowding, poor air circulation, and even disease.

    The Fix:

    Don’t be afraid to prune! For tomatoes, remove the suckers (those little shoots that grow between branches) to keep the plant focused on producing fruit. For other plants, prune dead or overcrowded branches to improve airflow and encourage healthier growth.

    8. Overcrowding (Plants Are Like People—They Need Their Personal Space)

    The Mistake:

    You try to cram as many plants into one garden bed as possible, thinking that the more, the merrier. But just like at a party, overcrowding leads to stress—and in this case, poor growth and disease.

    The Fix:

    Follow the recommended spacing for each plant. If the seed packet says 24 inches apart, trust it. Crowded plants are more likely to compete for nutrients and water, and they can attract pests and diseases. Give your plants some breathing room to thrive!

    9. Planting the Wrong Plants for Your Climate (Tropical Fruits in the Arctic, Anyone?)

    The Mistake:

    You’re determined to grow a mango tree in your northern climate. While that’s an admirable goal, it’s probably not going to end well. Even seasoned gardeners occasionally get carried away with their dream plant list, not realizing some plants simply can’t handle the cold (or the heat).

    The Fix:

    Research which plants grow best in your hardiness zone. Choose crops that are suited to your climate. For example, mangos belong in tropical climates, not in snowstorms. Instead, try cold-hardy varieties of fruits and vegetables, like apples or kale, that can thrive in your growing zone.

    10. Forgetting to Enjoy the Process (It’s Not Just About the Harvest)

    The Mistake:

    You get so caught up in getting everything perfect—having the perfect soil, spacing, and harvest—that you forget to take a step back and enjoy the garden for what it is: a beautiful, living thing that brings joy, relaxation, and a little dirt under your fingernails.

    The Fix:

    Take time to appreciate the process. Watch the bees buzz around your flowers, listen to the rustle of leaves in the breeze, and enjoy the satisfaction of seeing your hard work come to life. Gardening isn’t just about the end result—it’s about the journey, too.

    Conclusion

    Gardening can be a tricky, rewarding adventure, and even the most experienced gardeners make mistakes along the way. But the beauty of gardening is that we can always learn and improve, one plant at a time. So, the next time you make a mistake (and trust me, you will), just remember: even the pros have been there. Embrace it, learn from it, and, above all, keep gardening with a smile.

  • How to Start and Maintain a Compost Pile: A Beginner’s Guide

    How to Start and Maintain a Compost Pile: A Beginner’s Guide

    Composting is an environmentally friendly way to recycle organic waste, reduce landfill waste, and create nutrient-rich soil for your garden. Whether you have a small backyard garden or a larger homestead, composting is a simple and effective way to enrich the soil, minimize waste, and support sustainability. In this guide, we’ll walk you through how to start a compost pile, maintain it, what to add and what not to add, and the many benefits of keeping a compost pile.

    What is Composting?

    Composting is the process of breaking down organic materials like food scraps, yard waste, and other biodegradable materials into rich, dark, crumbly humus. This happens through the activity of microorganisms, fungi, and insects that decompose the organic matter. The result is a nutrient-dense material that can be used to improve soil quality, promote plant health, and reduce waste.

    How to Start a Compost Pile

    Starting a compost pile is easy and requires just a few basic steps.

    Choose the Right Location

    Pick a spot in your yard that is well-drained and has good air circulation. Compost piles work best when they are located in a shady area, especially in hot climates, to prevent them from drying out too quickly. Ideally, place your compost pile close to your garden or a water source, so it’s easy to access when needed. You can compost directly on the ground or use a compost bin or tumbler for a more contained, organized approach.

    Create Layers

    A well-balanced compost pile requires a mix of green (nitrogen-rich) and brown (carbon-rich) materials. Think of composting as layering the ingredients for a cake. Each layer should be around 3-6 inches deep, and you should alternate between the two types of materials.

    • Green materials include fresh, moist items like vegetable scraps, grass clippings, coffee grounds, and manure.
    • Brown materials are dry and fibrous, such as leaves, straw, shredded cardboard, and small branches.

    Start by placing a layer of coarse brown materials (like small twigs or straw) at the bottom of the pile to promote airflow. Then, alternate layers of green and brown materials, aiming for a ratio of about 3 parts brown to 1 part green. This balance ensures the right conditions for decomposition.

    Moisture and Aeration

    Your compost pile needs to stay moist, but not too wet. Think of a damp sponge—when you squeeze it, water should drip out, but it shouldn’t be soaking wet. If your compost is too dry, the decomposition process will slow down. If it’s too wet, it can become smelly and anaerobic, meaning it will rot rather than compost.

    Turn your pile regularly to allow oxygen to reach the materials and speed up decomposition. Every 2-3 weeks, use a pitchfork, shovel, or compost aerator to turn the pile, making sure to mix the materials and expose the inner layers to oxygen.

    What to Add to Your Compost Pile

    To keep your compost pile balanced and healthy, it’s essential to know what to add.

    Green Materials (Nitrogen-rich)

    These materials are fresh and moist and provide nitrogen, which helps to jumpstart decomposition:

    • Fruit and vegetable scraps
    • Grass clippings (if not too chemically treated)
    • Coffee grounds and tea bags
    • Eggshells (crushed)
    • Fresh leaves and weeds
    • Manure from herbivores (chickens, rabbits, cows, etc.)

    Brown Materials (Carbon-rich)

    Brown materials are dry and fibrous and help to provide carbon, which is essential for the composting process:

    • Dry leaves and straw
    • Wood chips, sawdust, or shavings
    • Shredded paper or cardboard
    • Cornstalks, small twigs, and small branches
    • Dead plants (without diseases)

    What Not to Add to Your Compost Pile

    While composting is a great way to recycle organic waste, not all materials are suitable for the compost pile. Adding the wrong items can disrupt the composting process and attract pests.

    Meat, Dairy, and Oils

    Meat, dairy products, and oils can attract rodents, raccoons, and other pests. These materials don’t break down well and can also produce unpleasant odors. Avoid adding:

    • Meat scraps or bones
    • Dairy products (milk, cheese, butter)
    • Fats, oils, or greasy foods

    Diseased Plants

    Composting diseased plants can spread diseases throughout your garden. If you have plants that are infected with pests or disease, it’s best to dispose of them in the trash or burn them (if allowed in your area). Avoid adding:

    • Diseased or pest-infested plants (such as plants with powdery mildew or blight)
    • Weeds that have gone to seed (they can sprout in your compost)

    Non-biodegradable Materials

    Avoid adding non-organic materials that will not break down over time, such as:

    • Plastic or synthetic materials (plastic bags, wrappers, etc.)
    • Glass or metal objects
    • Pet waste from carnivorous animals (dogs or cats)

    Chemically Treated Materials

    Materials treated with chemicals or pesticides can harm the composting process and contaminate the resulting compost. Avoid adding:

    • Grass clippings from chemically treated lawns
    • Plants treated with pesticides or herbicides

    How to Maintain Your Compost Pile

    Maintaining your compost pile is crucial to ensure it decomposes efficiently.

    Turn the Pile Regularly: Aerating the pile helps maintain oxygen flow, which speeds up the composting process. Aim to turn your pile every 2-3 weeks. If your pile seems too wet, add more brown materials to help absorb excess moisture. If it’s too dry, add some green materials or water it lightly.

    Monitor Temperature: A healthy compost pile should heat up in the center. The heat is a sign that microbial activity is breaking down the materials. The temperature should range between 120°F to 160°F (49°C to 71°C). If the pile gets too hot, turn it to cool it down, and if it gets too cold, add more green materials to raise the temperature.

    Add Moisture: Keep your compost pile moist, but not soggy. If it’s dry, sprinkle water on it to maintain the right moisture levels.

    Harvesting Your Compost: In about 3-6 months (depending on the size of the pile and how well it’s maintained), your compost will break down into dark, crumbly, and earthy-smelling material. This is your finished compost, and you can use it to enrich garden soil or as mulch.

      Benefits of Composting

      Reduces Waste: Composting reduces the amount of organic waste that ends up in landfills, which helps decrease landfill overflow and methane emissions.

      Improves Soil Health: Compost enriches soil by adding nutrients, improving texture, and increasing moisture retention, which makes plants healthier and more productive.

      Promotes Sustainability: Composting creates a closed-loop system, reducing the need for chemical fertilizers and encouraging sustainable agricultural practices.

      Reduces Greenhouse Gases: By composting rather than sending organic waste to landfills, you reduce the amount of methane produced, a potent greenhouse gas.

      Saves Money: Making your own compost means less reliance on expensive store-bought fertilizers and soil conditioners.

        Conclusion

        Starting and maintaining a compost pile is a rewarding process that benefits both you and the environment. By adding the right materials, maintaining a balance of green and brown matter, and taking care to turn the pile regularly, you can create rich, nutritious compost to improve your garden soil while reducing waste. Not only does composting help keep your garden flourishing, but it also contributes to a more sustainable and eco-friendly lifestyle.

      1. Getting Garden Stuff Done Early: One Step at a Time

        Getting Garden Stuff Done Early: One Step at a Time

        As a full-time working mom of three, it can feel like there’s never enough time in the day to get everything done. Between work, kids’ schedules, house chores, and the usual chaos of family life, the idea of gardening can sometimes feel like an impossible dream. But here’s the truth: if you want your garden to thrive, starting early and taking it one step at a time is the way to go. 

        For me, gardening is more than growing my ownfood and being self-sufficient—it’s a way to create something beautiful and peaceful in the middle of my busy, sometimes overwhelming life. But with everything else going on, I’ve had to learn to approach it in a way that fits into my lifestyle. I don’t always have the luxury of spending hours outside every weekend, but I can make steady progress in small, manageable chunks. And you know what? It works.

        Why I Start So Early

        Some might say I start too early, but for me, every weekend counts when it comes to preparing my garden for the season. Instead of cramming everything into a couple of weekends in the spring, I break it down and chip away at tasks bit by bit. This gives me the freedom to work on what needs to be done when I have time, without feeling overwhelmed.

        Starting early also helps avoid that feeling of panic when you realize it’s already planting time and you haven’t even prepped the soil. By starting in early, I can get a head start on things like cleaning up the garden beds, pulling weeds, and organizing my tools. This way, when it’s finally time to plant, I can focus solely on that—without distractions.

        Small Steps for Big Results

        It’s all about taking small steps and making them work for my lifestyle. Some weekends, I’ll focus on one task—maybe I’ll plant a few flowers, clean up an area, or lay down mulch. Other weekends, I might just spend an hour trimming or pruning. But with each little task, I’m moving closer to my goal.

        What works for me is that I never try to do everything at once. I’ve learned the hard way that pushing too hard leads to burnout. But by spreading it out, I feel a sense of accomplishment each time I complete something, even if it’s just one small part of the bigger picture.

        The Struggle of Doing It on My Own

        I won’t lie—sometimes it’s a struggle. As a busy mom, I often find myself doing things on my own. It’s tough to find the time and energy to work on the garden with everything else going on. But this is where the power of routine and small victories comes in. I set aside time in the mornings or evenings, It doesn’t matter if it’s just 15 minutes here or there; those small moments add up.

        And on the weekends, when my husband can help out or the kids are home(and willing) enough to pitch in, it feels like a win. They might not always be into gardening, but teaching them how to plant or water the garden is a great way to get them involved and make it a family activity. Plus, it helps me feel less overwhelmed when I have a little extra support.

        Embracing the Journey, Not Just the Result

        I’ve learned that the process of gardening, like everything else in life, is about balance. The final product is important, but the journey of getting there is just as rewarding. By taking it one step at a time and starting early, I can make steady progress without feeling like I’m falling behind. 

        I’ve found that gardening, especially when you have a busy lifestyle, is about being patient with yourself. There will be weekends where things don’t go according to plan. There will be days when you’re too tired or have too many other things on your plate. But as long as you keep showing up, even in small ways, your garden will thank you.

        So, if you’re juggling a busy schedule like I am, don’t stress about having a perfect garden or finishing it all at once. Start early, work in small bursts, and most importantly—make it work for you. By taking it one step at a time, you’ll find that the garden you’ve dreamed of can come to life, even in the midst of your busy life.

        What’s your favorite garden task to tackle early in the season? I’d love to hear how you make gardening fit into your lifestyle!

      2. How to Start a Garden with Almost No Money

        How to Start a Garden with Almost No Money

        For many people, starting a garden feels like an expensive dream. Between the cost of pots, soil, seeds, and tools, it can seem like gardening is only for those with extra money to spend. But here’s the truth: gardening has always been about creativity, resourcefulness, and working with what you have.

        You don’t need a big backyard, a fancy greenhouse, or brand-new tools to enjoy the benefits of fresh, homegrown food. With a little imagination, you can create a thriving garden on almost no budget at all.

        In this post, I’ll share practical ways you can start a garden with little to no money—whether you live in a small apartment, have a tiny backyard, or simply want to save money while growing your own food.


        1. Use What You Already Have

        Before you buy anything, look around your home—you probably already have most of what you need to get started.

        • Repurposed Containers: Buckets, totes, yogurt cups, and even cardboard boxes can become instant planters. Just make sure to poke drainage holes at the bottom so water doesn’t pool and rot the roots.
        • Egg Cartons & Small Cups for Seed Starting: These make excellent starter trays for seeds. When the seedlings are big enough, you can transplant them to larger containers or the ground.
        • Kitchen Scraps to Regrow: Did you know you can regrow green onions, celery, and lettuce from their root ends? Place them in a shallow dish of water, and within days you’ll see fresh growth. Garlic cloves, potato eyes, and even herbs like basil can also be propagated from scraps.

        💡 Pro tip: Keep a “garden bin” for reusable items like jars, containers, and egg cartons—you’ll always have something on hand when you want to start seeds.


        2. Find Free or Cheap Soil & Compost

        Soil is the foundation of every garden, but it doesn’t have to cost a fortune.

        • Make Your Own Compost: Collect vegetable scraps, eggshells, and coffee grounds in a small compost bin or pile. Over time, it breaks down into nutrient-rich soil for your plants.
        • Mulch for Free: Rake up fallen leaves, grass clippings, or shredded paper to use as mulch. Mulch helps retain water, improve soil health, and reduce weeds.
        • Coffee Shops & Breweries: Many local coffee shops give away used coffee grounds, and some breweries will even share spent grains—both are fantastic for composting.
        • Community Resources: Check Facebook, Buy Nothing groups, Craigs list, or local garden clubs. Many people offer free dirt, compost, or extra supplies to anyone willing to pick them up.

        3. Get Seeds & Plants for Free

        Seeds can be one of the biggest costs when starting out—but they don’t have to be.

        • Seed Swaps: Many communities and online groups organize seed swaps where you can trade what you have for something new.
        • Library Seed Banks: Some libraries now offer free seeds alongside books. You “check out” seeds, grow your plants, and return saved seeds at the end of the season.
        • Regrow from the Kitchen: Garlic, onions, lettuce, and even tomatoes can be regrown from scraps or seeds inside store-bought produce. Just make sure they’re not treated with chemicals that prevent sprouting.
        • Ask Neighbors: Gardeners often end up with too many seeds or divided plants. Don’t be shy about asking—you might be surprised how generous people are with extras.

        💡 Pro tip: Save your own seeds! Once you’ve grown something successfully, collect seeds for next season—it’s free and sustainable.


        4. DIY Garden Tools & Supplies

        You don’t need an expensive set of garden tools to get started. A little creativity goes a long way.

        • DIY Watering Cans: Poke holes in the lid of an old milk jug, and you have an instant watering can.
        • Homemade Raised Beds: Use scrap wood, pallets, or even bricks to create small garden beds.
        • Simple Plant Markers: Popsicle sticks, rocks, or even painted spoons can label your plants.
        • Repurposed Household Items: Old socks or strips of cloth make great plant ties. Large plastic bottles can be cut to protect seedlings from the cold.

        💡 Pro tip: Focus on function, not appearance. Many successful gardens are built with repurposed items—what matters most is that your plants have the right conditions to thrive.


        5. Start Small & Grow Smart

        One of the biggest mistakes new gardeners make is trying to do too much, too fast.

        • Choose Easy Crops: Start with 2–3 beginner-friendly vegetables like lettuce, beans, zucchini, or radishes. They’re forgiving, fast-growing, and rewarding.
        • Container Gardening: If you don’t have a yard, containers on a balcony, patio, or windowsill can still grow a surprising amount of food.
        • Gradual Expansion: Once you see success with a few plants, add more each season. This keeps costs low and helps you learn without feeling overwhelmed.
        • Keep It Fun: Gardening should bring joy, not stress. Starting small allows you to actually enjoy the process rather than feeling pressured to manage a huge space.

        💡 Pro tip: Celebrate every harvest, no matter how small. Even one salad made from homegrown lettuce is a big win when you’re just starting out.


        Can You Really Start a Garden With No Money?

        Yes, you absolutely can start a garden with little to no money. Many successful gardens begin with repurposed containers, saved seeds, kitchen scraps, and compost made from household waste. Gardening has historically been about working with available resources rather than buying everything new. By starting small, using free materials, and gradually expanding over time, anyone can begin growing food without a large upfront investment.


        Final Thoughts

        Starting a garden with almost no money isn’t just possible—it’s rewarding. By using what you already have, seeking out free resources, and keeping things simple, you’ll quickly see that growing food doesn’t have to break the bank.

        Every tomato, bean, or herb you grow is one less you need to buy at the store, and those little wins add up fast. More importantly, you’ll gain confidence, skills, and the satisfaction of knowing you created something from almost nothing.

        Your turn: What’s the first plant you want to grow on a budget? Share your ideas in the comments—I’d love to hear your plans!


        If you’re trying to grow food while staying on budget, you may also like my book Homesteading on a Budget from The Grounded Homesteader Series.

      3. 5 Essential Tips for Starting a Garden: A Beginner’s Guide to Growing Your Own Food

        5 Essential Tips for Starting a Garden: A Beginner’s Guide to Growing Your Own Food

        Gardening for self-sufficiency is a rewarding and empowering way to take control of your food sources, reduce grocery bills, and reconnect with nature. Whether you’re aiming to grow a few vegetables on your balcony or transform your backyard into a mini farm, starting a garden for self-sufficiency is easier than you might think. I’ll guide you through the basics of starting out, from choosing the right crops to planning your garden layout, so you can get started with the confidence you need to succeed.

        Why Start Gardening for Self-Sufficiency?

        Before diving into the logistics of gardening, it’s important to understand the benefits that come with growing your own food:

        1. Save Money: Growing your own fruits, vegetables, and herbs can significantly reduce your grocery costs over time.

        2. Healthier Food: You’ll have direct access to fresh, organic produce free from harmful chemicals or pesticides.

        3. Environmental Impact: Growing your own food reduces the carbon footprint associated with transportation and packaging in grocery store products.

        4. Increased Food Security: By growing your own food, you are less dependent on commercial food systems, giving you more control over your nutrition.

        Do I have you convinced? Great, let’s get started.

        1. Start Small and Plan Your Garden

        If you’re just starting out with gardening, keep it simple at first! Kick things off with a few plants and get the hang of the basics – it’ll boost your confidence and give you the experience you need before going big. There’s nothing worse than feeling discouraged after your first year just because you took on too much. Planning ahead is also key to maximizing your space and picking the right plants for your area. No need to get bummed out over a plant that just wasn’t meant to grow where you are!

        Assess Your Space:

        – Backyard: If you have a yard, you may want to start with a raised bed or traditional garden plot. Raised beds are particularly helpful for beginners because they’re easier to manage, with fewer weeds and better drainage.

        – Balcony/Patio: If you don’t have much space, container gardening is an excellent choice. You can grow herbs, leafy greens, and small vegetables in pots, ensuring that you maximize your available space.

        – Indoor: Growing food indoors can be a great option for those in apartments or colder climates. Herbs, microgreens, and even dwarf varieties of tomatoes and peppers can thrive indoors with the right lighting.

        Plan What to Grow:

        Start by thinking about the foods you use most often. Focus on crops that are easy to grow, have a high yield, and can be stored for later use. Consider growing:

        Leafy Greens: Spinach, kale, and lettuce are quick to grow and ideal for beginners.

        Root Vegetables: Carrots, beets, and potatoes are hearty and thrive in many climates.

        Herbs: Basil, mint, parsley, and cilantro are great for adding flavor to meals and grow well in small spaces.

        Tomatoes and Peppers: These are common self-sufficiency staples, and with the right care, they can be incredibly productive.

        Legumes: Beans and peas enrich the soil while providing a valuable source of protein.

        Be sure to consider your climate and growing season. Research what plants are best suited to your area and when to plant them to ensure success.

        2. Prepare the Soil

        Healthy soil is the foundation of any successful garden. For self-sufficiency, you’ll need soil that is nutrient-rich, well-draining, and capable of supporting your crops throughout the growing season.

        Improve Your Soil:

        Composting: Start composting kitchen scraps, lawn clippings, and yard waste to create nutrient-dense soil. Composting helps to enrich the soil, improve its structure, and promote healthy plant growth.

        Soil Amendments: You may need to amend your soil with organic matter such as compost, manure, or garden soil. Test your soil to see if it needs any adjustments, like adding lime for acidity or sulfur to lower pH levels.

        Mulching: Mulch helps retain moisture, suppresses weeds, and keeps the soil temperature stable. Use organic mulch like straw, wood chips, or grass clippings.

        3. Start with the Right Tools

        Having the right tools can make gardening easier and more enjoyable. Some basic gardening tools you’ll need include:

        Garden Gloves: Protect your hands from thorns, dirt, and pests.

        Trowel or Hand Fork: Essential for digging and planting small seeds or plants.

        Watering Can or Hose: Make sure your plants stay hydrated, especially during dry spells.

        Pruning Shears: These are important for trimming plants and removing dead growth.

        Spade or Shovel: Useful for digging and turning over the soil in larger beds.

        Start with a small collection of basic tools, and as you gain more experience, you can gradually expand your toolkit.

        4. Plant and Care for Your Crops

        Once your garden space is prepared and your tools are ready, it’s time to plant. Follow the recommended planting instructions on seed packets or plant labels, and ensure your crops have the proper spacing for healthy growth.

        Watering:

        Proper watering is key to plant health. While the needs of each crop vary, aim to water early in the morning or late in the evening to reduce evaporation and prevent diseases. Check your plants regularly to ensure they’re not too dry or waterlogged.

        Fertilizing:

        To boost plant growth, use organic fertilizers like compost or aged manure. Fertilize at regular intervals as recommended by the plant type, but avoid over-fertilizing, which can harm plants.

        Pest Management:

        While pests are a part of gardening, there are natural ways to manage them. Try companion planting (e.g., planting marigolds with tomatoes to deter pests), introducing beneficial insects (like ladybugs), and using organic pest control methods such as neem oil or insecticidal soap.

        5. Harvest and Store Your Crops

        The fruits of your labor will eventually come to fruition. Harvest your crops when they’re ripe, but don’t wait too long, as overripe produce can attract pests.

        Storing Your Bounty:

        Self-sufficiency involves not just growing food but also preserving it for later use. Some options include:

        Canning: Preserve fruits, vegetables, and even meats by canning them in jars. Make jams, sauces, and soups for long-term storage.

        Freezing: Many vegetables can be frozen for later use. Flash-freezing helps preserve their texture and flavor.

        Drying: Herbs, fruits, and even some vegetables can be dried and stored for extended use.

        Root Cellar: Certain crops like potatoes, carrots, and winter squash can be stored in a cool, dark place for months.

        Final Thoughts

        Starting a garden for self-sufficiency is a rewarding journey that’s all about continuous learning. Every season offers new challenges and opportunities to experiment with different crops, techniques, and food preservation methods. By starting small with a well-planned garden, focusing on soil health, and mastering the basics, you’ll set yourself up for success. As you gain experience, you’ll see your yield grow, and so will your confidence in growing your own food. Gardening is a skill that improves with time, so stay patient, curious, and enjoy watching both your garden and your self-sufficiency flourish. Happy gardening!