Tag: turkeys

  • From Freezer to Pantry: How I Pressure Can Turkey for Long-Term Storage

    From Freezer to Pantry: How I Pressure Can Turkey for Long-Term Storage

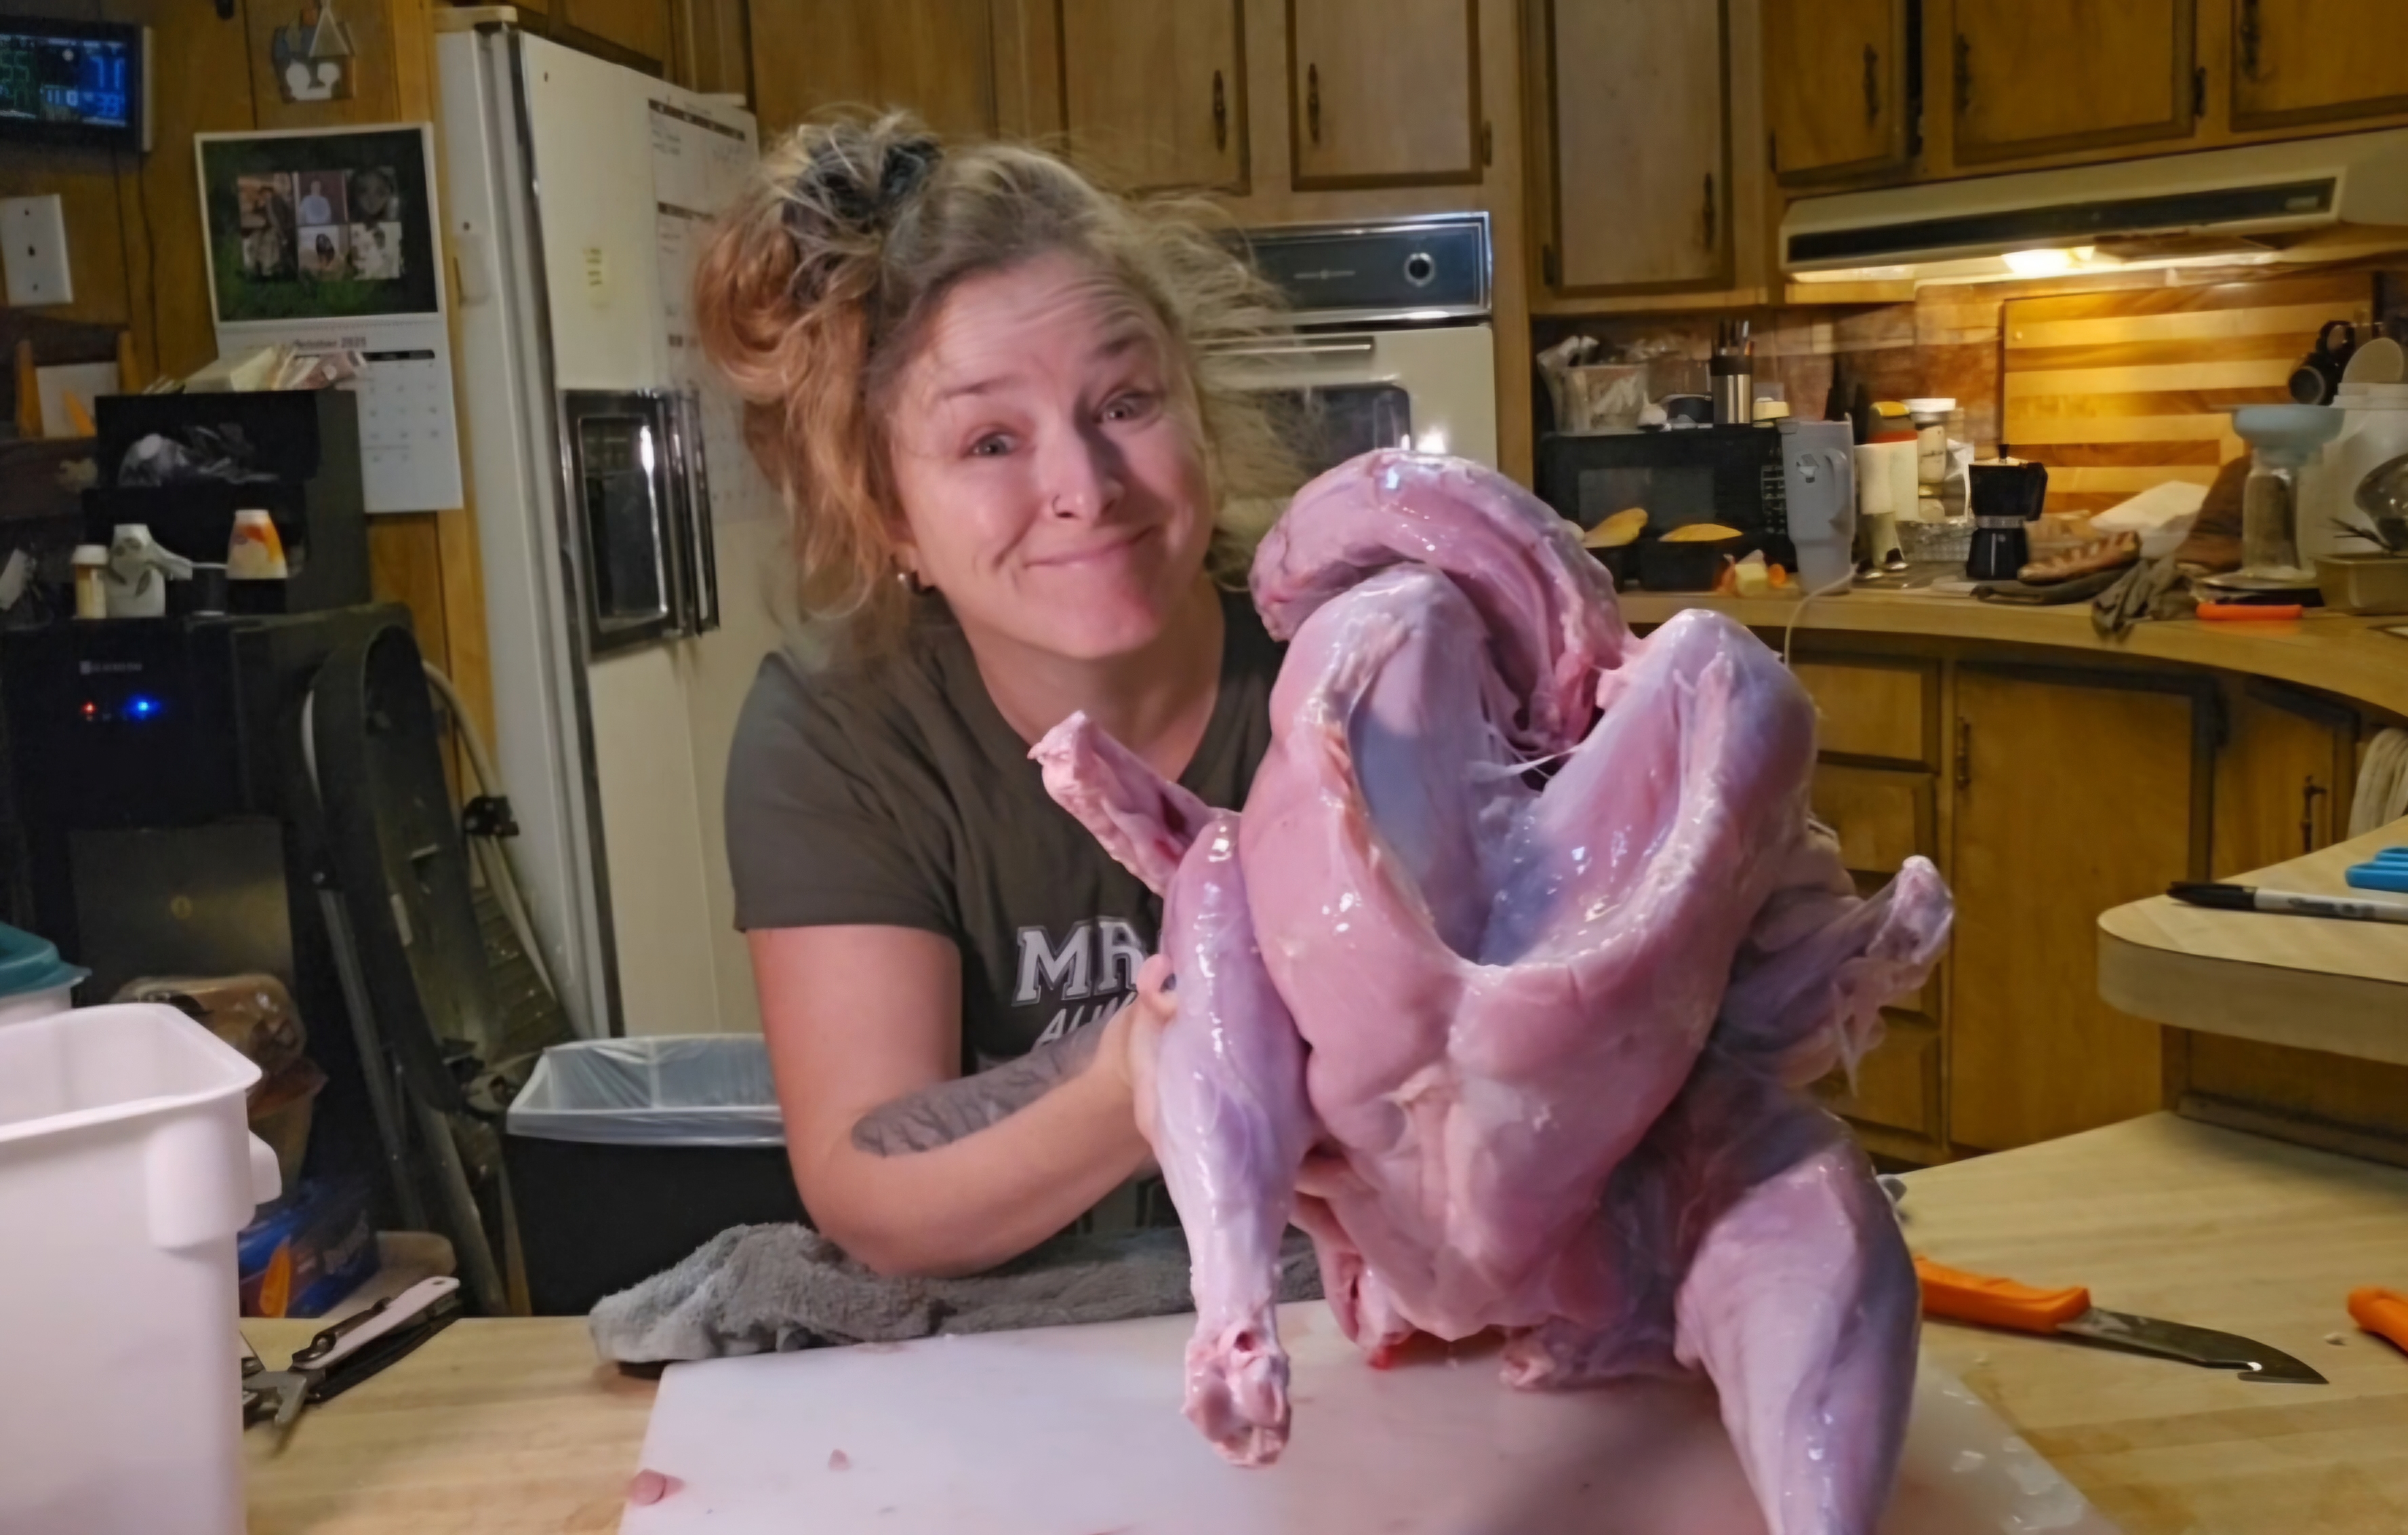
    After we finished processing our turkeys this season (you can read about that here), I set aside some of the breast meat specifically for canning. I love having ready-to-eat meat on the shelf — it’s perfect for quick meals, soups, and dips, and it gives me peace of mind knowing exactly where our food came from.

    Why I Can My Own Meat

    Freezer space fills up fast around here, especially after butchering season. Canning lets me preserve our homegrown meat safely without worrying about power outages or freezer burn. And once you learn the process, it’s actually simple — it just takes time and attention to detail.

    My Preferred Method: Cold Packing

    Everyone has their own favorite way to can meat, but my go-to is cold packing. That means I fill the jars with raw turkey (or chicken, pork, or beef) and let it create its own juices during the canning process. No broth, no water — just meat, salt, and time.

    Step-by-Step: How I Pressure Can Turkey

    1. Sterilize your jars, lids, and rings.
      I run mine through a hot dishwasher cycle or boil them briefly before I start.
    2. Cube your turkey into 1-inch pieces.
      This size helps the heat penetrate evenly during processing.
    3. Add salt (optional but recommended).
      I use ½ teaspoon per pint or 1 teaspoon per quart.
      It adds a touch of flavor and helps with preservation.
    4. Pack jars tightly, leaving 1 inch of headspace.
      Use a funnel to keep rims clean while filling.
    5. Wipe rims with vinegar.
      This removes any grease and ensures a good seal.
    6. Add lids and rings, finger tight.
      Don’t overtighten — just snug enough to stay in place.
    7. Process in a pressure canner:
      • Pints: 75 minutes
      • Quarts: 90 minutes
        Adjust for your altitude and follow your canner’s manual carefully.

    The time matters — it’s what ensures the heat reaches all the way to the center of each jar.

    After Canning: The Cooling Process

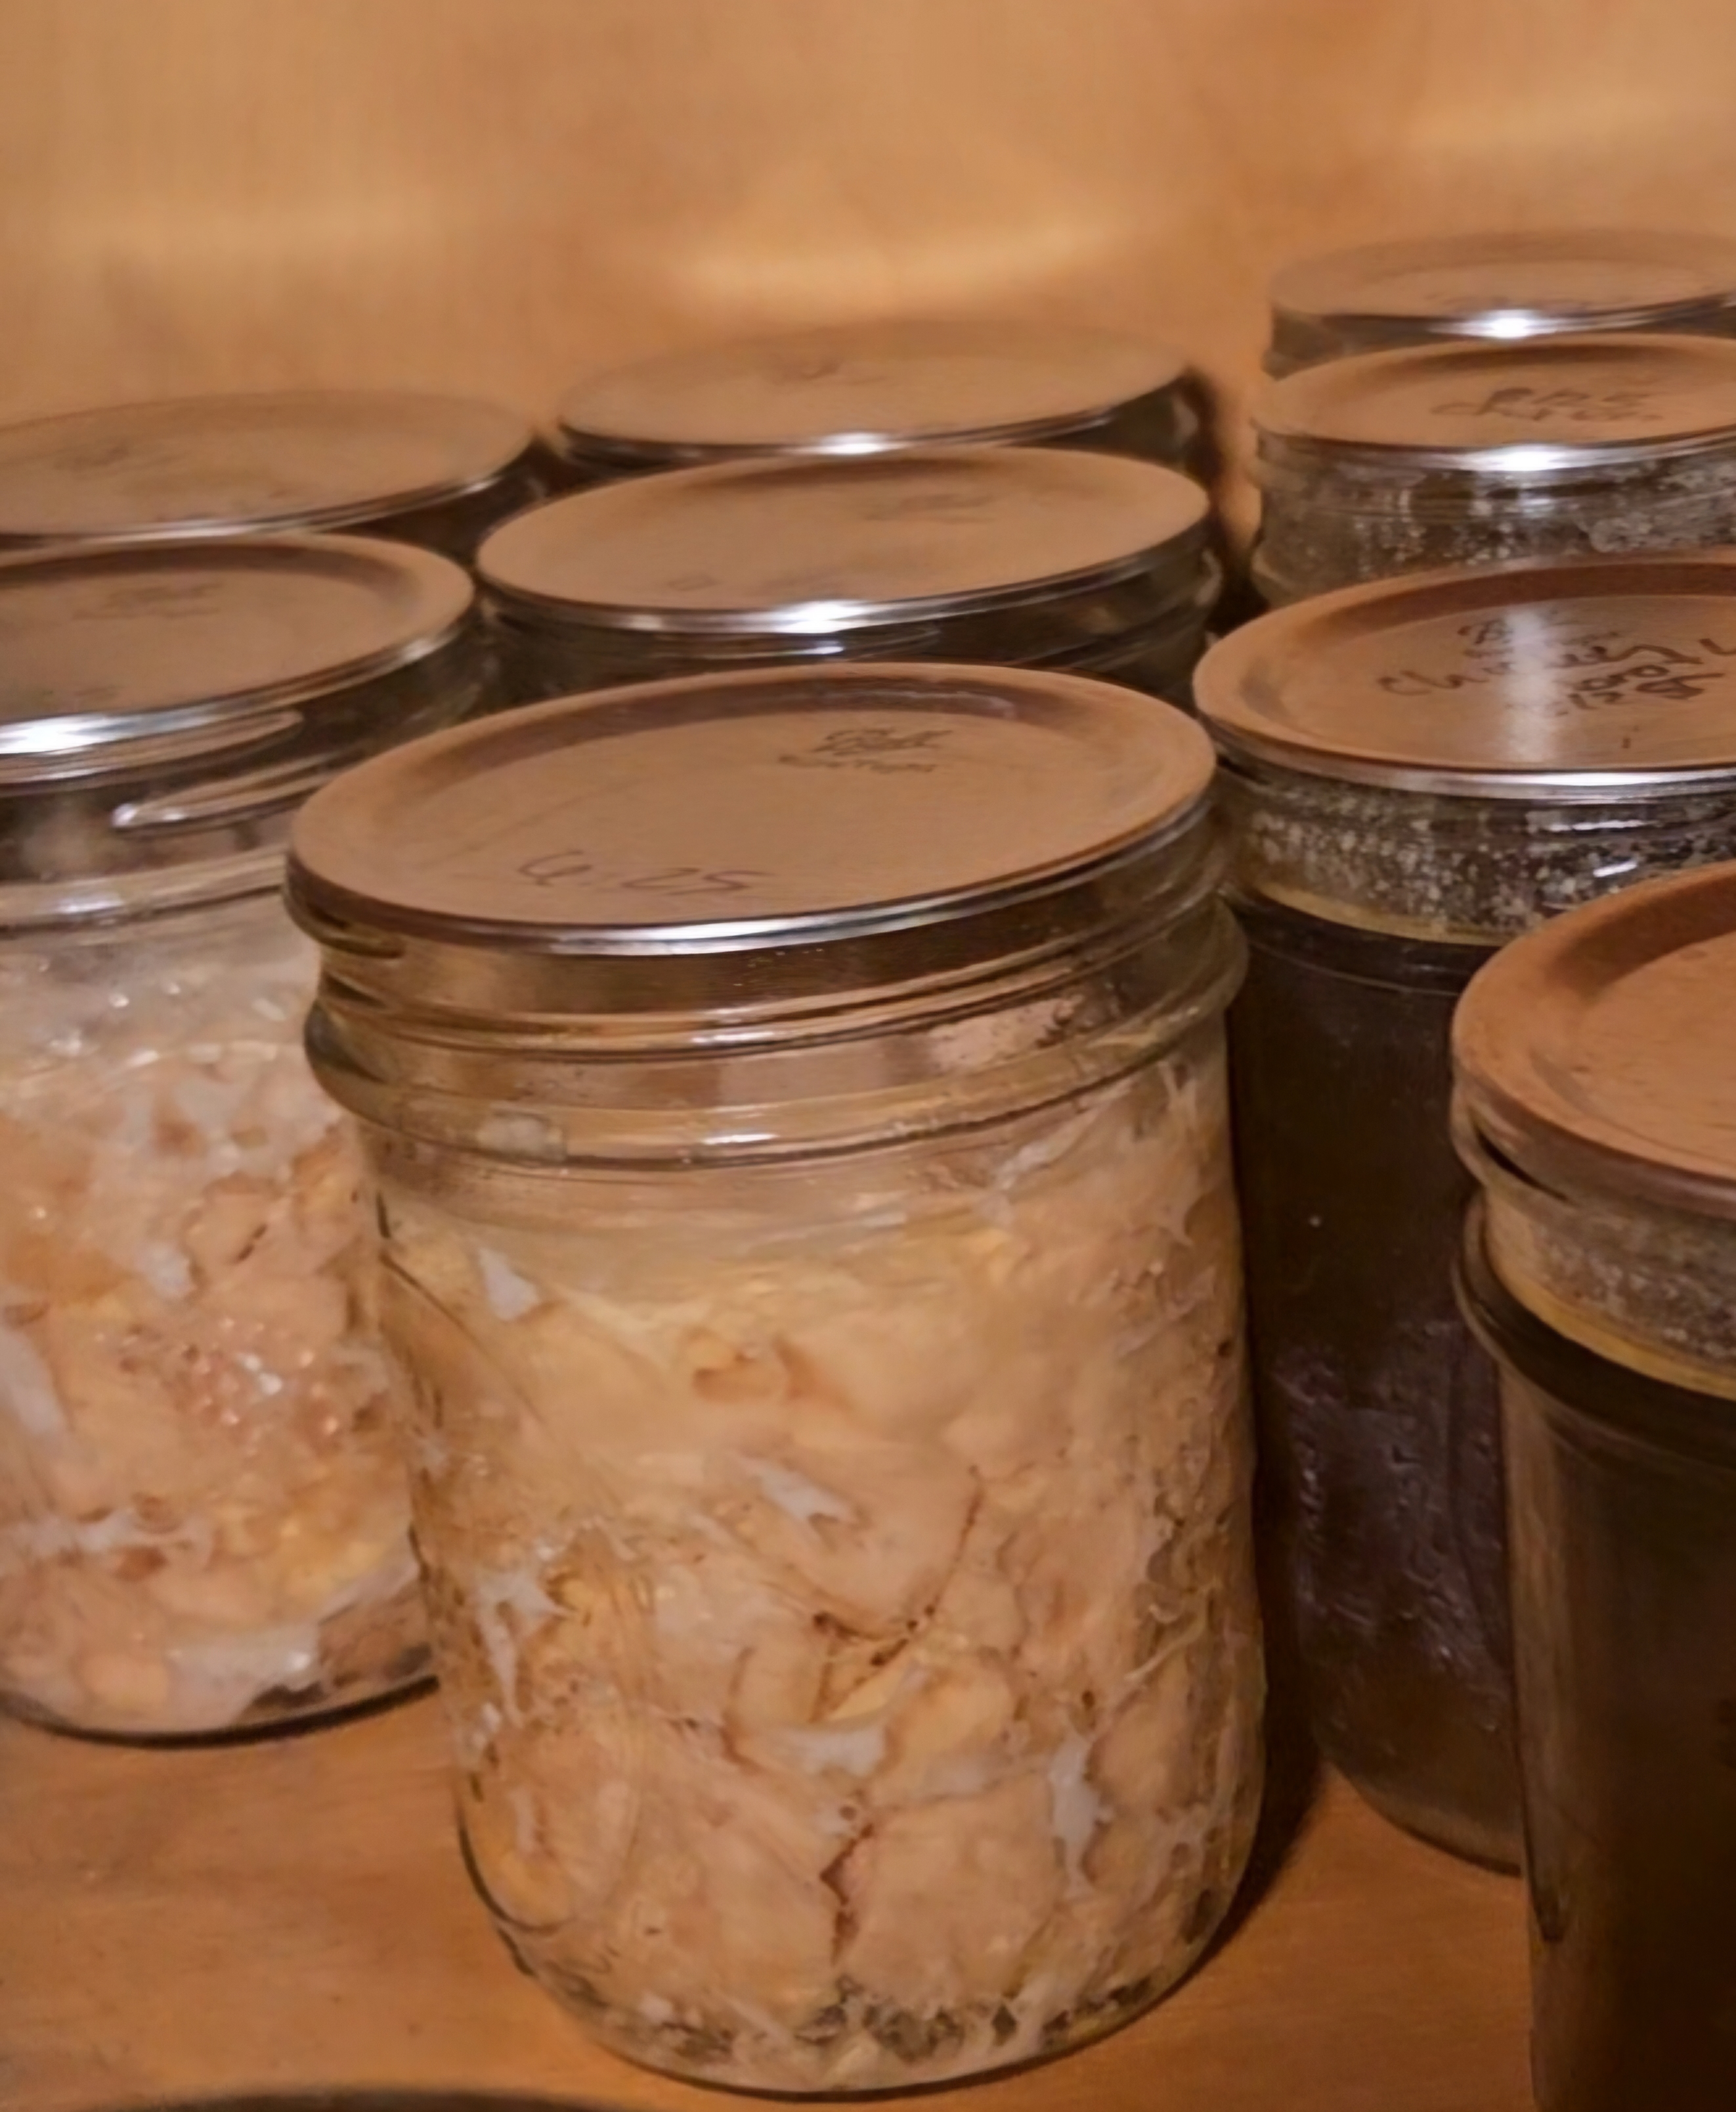
    Let your canner cool naturally (no rushing it). When the pressure drops completely, remove the jars carefully and let them rest undisturbed for 12–24 hours.
    You’ll hear that satisfying pop as the lids seal — one of my favorite homestead sounds.

    Check the seals before storing, and if any didn’t seal properly, pop those in the fridge and use them within a few days.

    Safety First

    • Always inspect before eating — if something smells off, toss it.
    • Don’t consume anything with a broken seal, discoloration, or fizzing liquid.
    • When in doubt, throw it out.

    Why It’s Worth the Work

    Canning meat takes time, but it pays off every single time I grab a jar off the shelf. Whether it’s turkey salad, soup, or a quick casserole, it’s ready to go — no thawing, no cooking, no stress.

    After several days of work — butchering, resting, and canning — I’m reminded why we do it. Knowing what goes into our food, how it was raised, and how it’s preserved means everything to us.
    And honestly? It’s the kind of work I’m grateful for.

  • The Time, Effort, and Gratitude Behind Home-Raised Meat on the Homestead

    The Time, Effort, and Gratitude Behind Home-Raised Meat on the Homestead

    The Time and Heart That Goes Into Raising and Preserving Your Own Meat

    Homesteading isn’t just about collecting eggs and growing tomatoes — it’s about the long hours, the learning curves, and the deep appreciation that comes from providing for your own family. This fall, I was reminded of just how much time (and love) goes into raising and preserving our own animals — especially when it came time to process our turkeys.

    Meet Kirk, the Turkey Who Thinks He’s a Chicken

    Our original plan was to breed our own turkeys this year. We wanted to raise a few from our flock to fill the freezer for winter, but our tom, Kirk, had other ideas.

    Kirk was a late bloomer and was given to me before we had any other “keeper” turkeys. He grew up with the chickens, and somewhere along the way, he decided he was one. Unfortunately, that led to some trouble — he even killed one of my hens trying to breed her. He never quite figured out his role, and despite his best efforts, our Spanish Black hens remained unimpressed. Poor Kirk… a big chicken at heart.

    Bringing in the Big Birds

    Since breeding didn’t go as planned, we decided to order Broad Breasted White turkeys from McMurray Hatchery again. They grow fast and put on weight quickly — great for the freezer, but not so great if you wait too long to butcher. These birds can get huge, and once they reach a certain size, they’re hard to handle.

    It’s definitely a two-person job. My husband and I tackled the butchering together — I held, he chopped — quick and humane. I decided to skin them this time instead of plucking. For one, they don’t fit in my plucker. And two, even if they did, I physically couldn’t lift those heavy birds in and out of the scalding pot all day.

    And because timing is never perfect on a homestead, the weekend we processed six turkeys turned out to be a busy one — and rainy, of course. But it got done. Because that’s homesteading. Rain, mud, feathers, and all.

    From Rainy Day to Freezer Full

    After processing, we let the birds rest in coolers for 48 hours so rigor mortis could pass. Out of the six we butchered, I parted out five and kept one whole as a gift for a friend — the same friend who gave me a pair of mated Royal Palm turkeys this summer. I told her I had her Thanksgiving covered.

    If you’d like to see how I part out a turkey step-by-step, I filmed the process for YouTube — you can watch it here (it’s short, simple, and shows what works best for me).

    Preserving the Harvest

    I’ll be canning some of the turkey, turning some into homemade deli meat, and freezing the rest in meal-sized bags. That way, I can pull one out anytime for soups, crockpot meals, or a quick dinner. It took several days of hard work, but every time I open the freezer or see a row of jars cooling on the counter, I’m reminded it’s always worth it.

    Knowing exactly where our food comes from — how it was raised, butchered, and preserved — means so much to us. It’s strange to think I haven’t bought meat from a grocery store in who knows how long. It’s not always easy, but it’s real, rewarding work.

    And at the end of the day, I’m simply grateful — for the effort, for the lessons, and for the opportunity to live this life.

    🦃 Watch the Video

    Want to see how I part out a turkey? Watch the video here: