

In today’s world of modern conveniences, it’s easy to forget that before money became the norm, bartering was the primary way people exchanged goods and services. For homesteaders, bartering is a valuable skill that fosters a sense of community, reduces reliance on cash, and promotes sustainability. Whether you’re a seasoned homesteader or just starting your journey, learning how to barter effectively can be a game-changer for your lifestyle. Here’s a guide to help you get started with bartering in your homesteading community.
What Is Bartering?
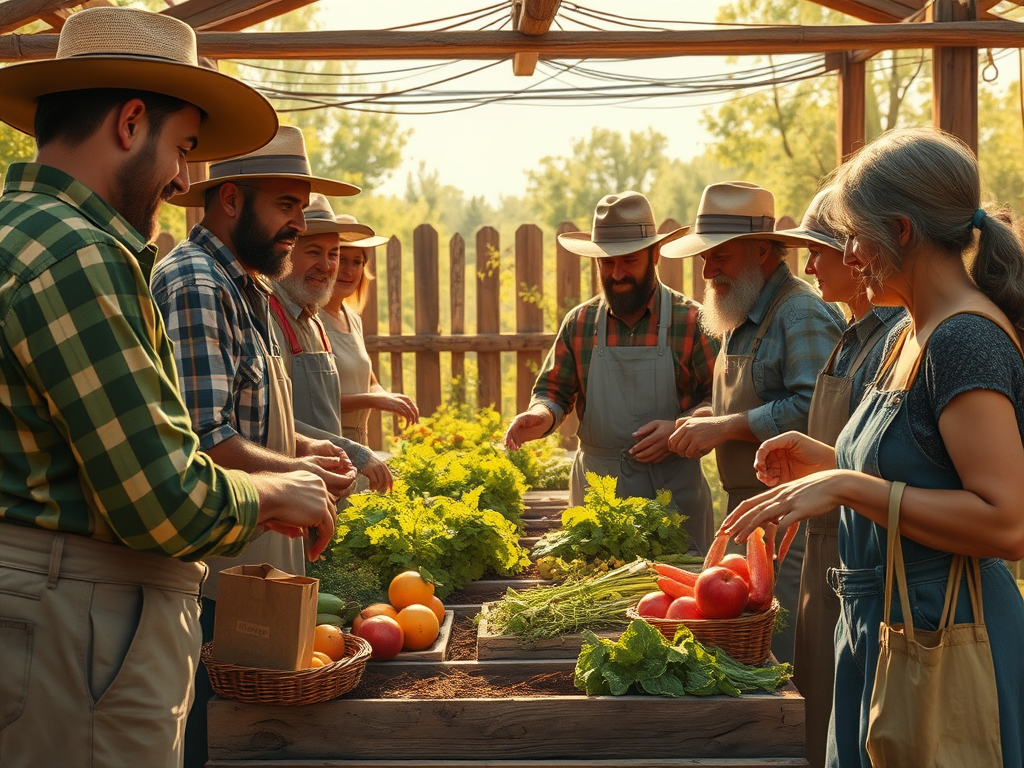
Bartering is the exchange of goods or services without using money. It’s a simple system: you offer something you have or can do in exchange for something you need. For example, you might trade fresh eggs for handmade soap or garden vegetables for help repairing a fence.
In a homesteading community, bartering allows neighbors to share resources and skills, creating a network of support and reducing waste. It’s not just an economic transaction—it’s a way to build relationships and strengthen your community.

Benefits of Bartering
Save Money: One of the biggest advantages of bartering is that it reduces your reliance on cash. If you’re operating on a tight budget, bartering can help you get what you need without spending money.
Build Community Connections: Bartering encourages interaction with other homesteaders and neighbors. These connections can lead to lasting relationships, shared knowledge, and mutual support.
Reduce Waste: Have an abundance of zucchini from your garden? Or extra jars of homemade jam? Bartering allows you to share your surplus instead of letting it go to waste.
Access Unique Skills and Resources: Not everyone can do everything on their own. By bartering, you can access skills, tools, or resources that you might not have, such as carpentry, sewing, or animal care.
How to Start Bartering
1-Take Inventory of What You Have: Before you start bartering, consider what you can offer. Here are some ideas:
Goods: Fresh produce, eggs, honey, baked goods, canned or preserved foods, seeds, handmade crafts, or firewood.
Services: Gardening, animal care, carpentry, sewing, cooking, babysitting, or mechanical repairs.
Skills: Teaching others how to bake bread, preserve food, or build a compost bin.
Think about your strengths and any surplus items you have on your homestead.
2-Identify What You Need: Next, make a list of things you need but don’t have. This could be physical items, such as tools or seeds, or services, such as help with harvesting or fencing. Knowing what you need will make it easier to propose fair trades.
3-Find a Community to Trade With: Bartering works best in a supportive community. If you don’t already know other homesteaders in your area, consider these options:
Local Homesteading Groups: Join local meetups or online forums for homesteaders and gardeners.
Farmers’ Markets: Connect with vendors and farmers who may be open to bartering.
Social Media Groups: Facebook groups or apps like Nextdoor can help you find like-minded individuals nearby.
As you build relationships, you’ll discover new opportunities to barter.
4-Propose a Trade: When you’re ready to trade, approach the other person with a clear proposal. Be polite and specific about what you’re offering and what you need in return. For example:
– “I have fresh eggs and homemade bread. Would you be interested in trading for some of your goat milk?”
– “I can help you build your chicken coop if you can teach me how to can vegetables.”
I have personally traded live turkeys for someone to builde me a chick brooder. I still use it to this day.
Flexibility is key—sometimes, you might need to negotiate to find a trade that works for both parties.
5-Establish Clear Terms: To avoid misunderstandings, make sure both parties are clear about the terms of the trade. For example:
– How much of each item will be exchanged?
– When and where will the exchange take place?
– If it’s a service, how long will it take, and what will be included?
Good communication is essential to successful bartering.

Tips for Successful Bartering
Be Honest: Always be upfront about the quality and condition of the goods or services you’re offering.
Start Small: If you’re new to bartering, begin with small, simple trades to build confidence and trust.
Be Fair: Offer something of equal value to what you’re asking for. Bartering is about mutual benefit, not taking advantage of others.
Build Relationships: Regularly connect with your community to find new trading opportunities and strengthen bonds.
Keep Records: For larger trades, it’s a good idea to write down the agreement to ensure everyone is on the same page.
Examples of Bartering in a Homesteading Community
– Trading homemade goat cheese for garden vegetables.
– Exchanging firewood for help repairing a fence.
– Offering fresh eggs in return for sewing or mending clothes.
– Providing garden tools in exchange for a jar of honey or homemade soap.
– Swapping surplus seeds with a neighbor to diversify your crops.
These simple exchanges not only meet immediate needs but also create a spirit of cooperation and shared success.

Challenges of Bartering (and How to Overcome Them
While bartering has many benefits, it’s not without challenges:
Finding a Match: It can take time to find someone who needs what you’re offering and has what you need in return. Networking and communication can help.
Perceived Value: Not everyone will agree on the value of goods or services. Be prepared to negotiate and find a fair middle ground.
Time Constraints: Services like labor or repairs require time, which might not always align with your schedule. Be clear about availability when making agreements.
With patience and flexibility, these challenges can be overcome.
Parting Thoughts
Bartering is more than just a way to trade goods and services—it’s a way to foster a sense of community, reduce waste, and live more sustainably. Whether you’re swapping fresh eggs for home-baked bread or trading gardening labor for canned preserves, bartering offers countless opportunities to share resources and skills.
By building strong relationships and staying open to creative exchanges, you can make bartering an integral part of your homesteading lifestyle. What goods or services would you offer for trade? Let me know in the comments below!


