One of the biggest mistakes new gardeners make is assuming that if a vegetable grows well for someone else, it will grow well for them too. Social media makes it easy to believe that success looks the same everywhere — but gardening is deeply personal to your location, climate, AND timing.
Before we even talk about what’s “easy” to grow, we need to talk about zones.
Gardening Zones & Why They Matter
Your growing zone helps determine what plants can survive your seasons, but it doesn’t tell the full story. Two gardeners in the same zone can have completely different results depending on heat, humidity, wind, soil type, and how quickly temperatures change.
Don’t know what zone you’re in? Check out the link below.
https://planthardiness.ars.usda.gov/
So if your favorite garden influencer is growing beautiful broccoli and you can’t keep it alive to save your life — it doesn’t mean you’re bad at gardening. It usually just means that plant isn’t well suited to your climate or growing season.
The key to beginner success is choosing crops that are forgiving, adaptable, and productive, even when conditions aren’t perfect.
Root Crops: The Best Place to Start
If you’re brand new to gardening, root crops are some of the easiest and most reliable vegetables to grow.
Think:
- Carrots
- Radishes
- Beets
- Turnips
- Potatoes
These crops grow underground, which protects them from a lot of environmental stress. They don’t require constant pruning, trellising, or special care. As long as your soil isn’t rock-hard and you keep them watered, they mostly take care of themselves.
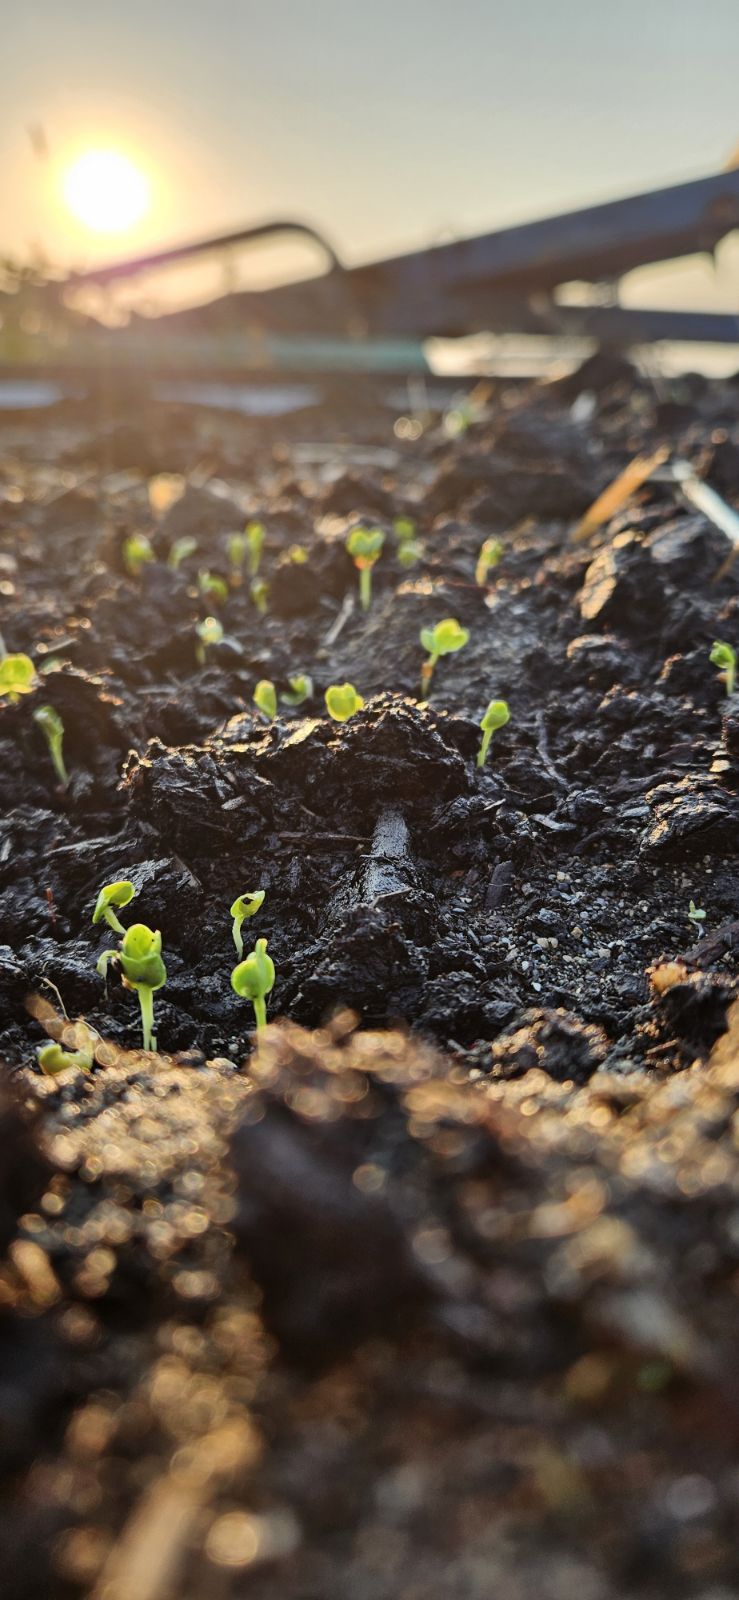
Radishes are especially great for beginners because they grow fast, helping you build confidence early in the season.
Leafy Greens: Easy, Fast, and Productive
Leafy greens are another beginner favorite — with one important tip: they prefer cooler weather.
Great beginner greens include:
- Lettuce
- Spinach
- Kale
- Arugula
These crops grow quickly and can often be harvested multiple times. They do best in spring and fall, and many varieties will tolerate light frosts.
If you live somewhere that warms up quickly, look for heat-tolerant varieties, but keep expectations realistic. Even heat-tolerant greens can bolt (go to seed) once summer heat sets in. That’s not failure — it’s just how these plants respond to temperature changes.
Planting greens early, providing shade, and harvesting often will help extend the season.
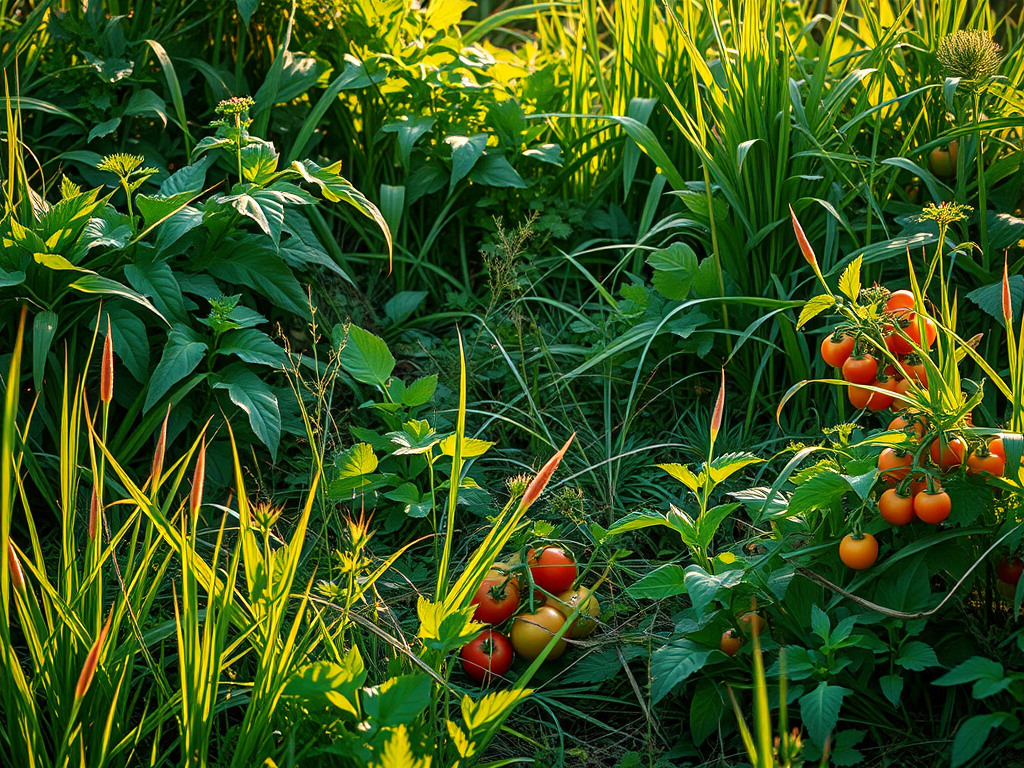
Tomatoes: Easier Than People Think (With a Few Rules)
Tomatoes get labeled as “hard,” but in my opinion, they’re actually pretty easy once you understand a few basics.
Here’s what matters most:
- Plant them deep. Tomatoes grow roots along buried stems, which leads to stronger plants.
- Use compost or add nutrients. Tomatoes are heavy feeders and need ongoing nutrition as they grow.
- Give them support early. Cages, stakes, or trellises prevent breakage and disease.
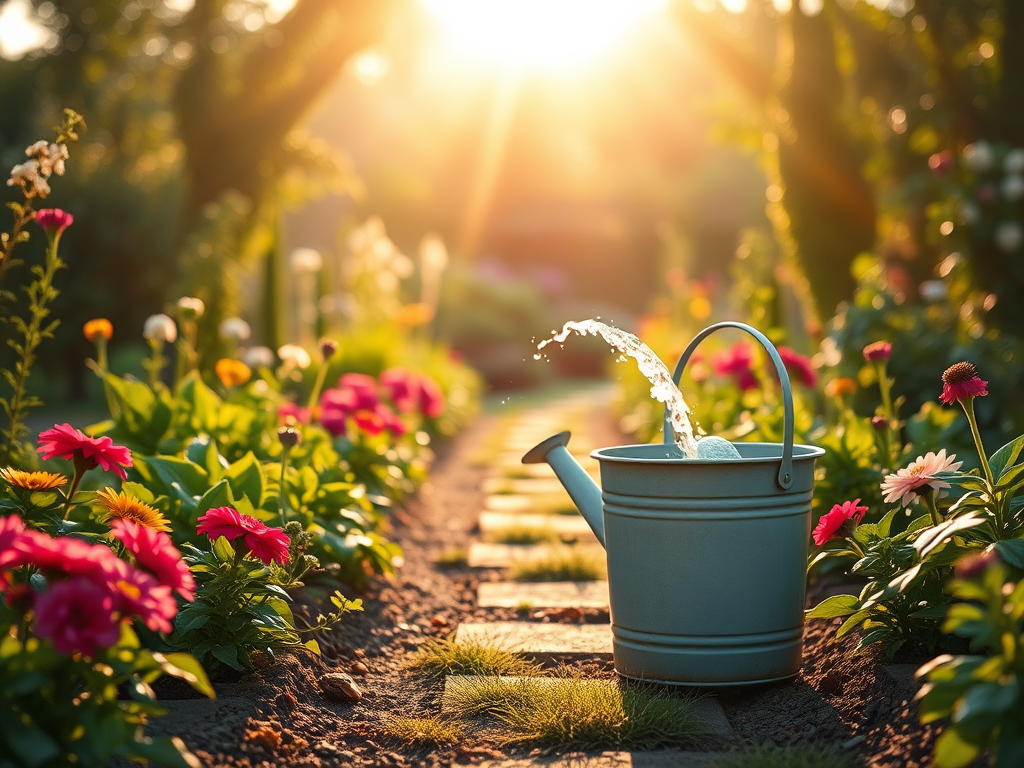
- Water consistently. Irregular watering causes more problems than almost anything else.
If you get these basics right, tomatoes are incredibly productive and forgiving. Cherry and paste varieties tend to be especially beginner-friendly.
Herbs: Low Effort, High Reward
Herbs are one of the most overlooked beginner crops — and one of the most rewarding.
Easy herbs include:
- Basil
- Parsley
- Cilantro
- Thyme
- Oregano
- Chives
Many herbs tolerate poor soil, don’t require much space, and can be grown in beds, containers, or even tucked into other garden areas. Perennial herbs like thyme and oregano come back year after year, making them especially low maintenance.
Plus, harvesting herbs regularly encourages more growth — which is exactly what beginners want.
What to Know Before You Plant (And Why That’s Okay)
Even though the vegetables on this list are considered “easy” for beginners, they all come with their own little stipulations. Gardening isn’t about mastering everything at once — there are a lot of small details to learn, and the best way to learn them is one step at a time. You can read five books and watch endless videos, but until you actually get your hands in the soil, not everything will stick. Each of these plants thrives under slightly different conditions, and it’s worth taking a little time to research. Yes, you can go to the store, buy some seeds, toss them in the ground, and see what happens — and honestly, sometimes that works. Just don’t expect a perfect or high success rate right out of the gate. Gardening is a process, and every season teaches you something new.
The Real Secret to Beginner Gardening Success
When you start thinking about gardening, reaching for beginner-friendly crops is one of the easiest ways to increase your chances of success. Keep your growing zone and local climate in mind, and take the time to do a little research on what grows well in your area. Try not to get caught up in someone else’s garden highlight reel — what works for them may not work for you. Gardening is a learning process, and every season teaches you something new. Enjoy the process, learn along the way, and happy gardening.